
In this post, I’ll be walking you through a simple and free crochet pattern to make your very own crochet tote handbag! This project is perfect for both beginners and seasoned crocheters, and it can be customized in endless ways with different yarn colors. Whether you need a versatile everyday bag or a fun beach tote, this crochet tote handbag pattern has you covered. If you are an absolute beginner you can also check out the Mellow tote bag pattern. So lets get started.

Level of skill Required :
This pattern is written in USA terms
Knowledge on how to crochet single crochet, double crochet and slip stitch is required for this pattern.
Material list:
- Crochet Hook size 4mm
- 3mm Macramé cord/ Rope (you can use any other type of yarn that you have but make sure it is not too thick and that the size of the yarn corresponds to the 4mm crochet hook)
- 250 meters of macramé cord is required
- Scissors
- 6 Stitch markers
- Tapestry needle
- Sewing thread and needle (for attaching the magnetic snap to the bag)
- Magnetic snap
- Handmade tag (optional)
One size bag
Finished bag measurements
19cm height
30cm width
23.5cm base length
11cm base width
Crochet Terms in US Terminology
- rep – repeat (do it again)
- st (s) – stitch(es)
- ** – means do what is written in-between the asterisks (for example rep** , means repeat what is written in between the asterisks)
Stitch guide
- ch – chain
- sl st – slip stitch
- sc –single crochet
- dc – double crochet
Pattern notes:
- You are going to work in rows for the base and rounds for the sides.
- Remember to always put the st marker back after crocheting the first st of each round (for the sides)
- The number in the brackets at the end of each instruction is the total number of stitches for that round.
Crochet a tote handbag free pattern Instructions:
Make the bag in 3 steps
- Step 1 – the bottom
- Step 2 – the sides
- Step 3 – the handles
The 3 Double Crochet cluster stitch (3DCcl)
Here is how you crochet the 3DCcl stitch:
With this st the first st of the round in this pattern is actually a ch 3 followed by a 2DCcl. This is because you need to get to the height of the sts first which is done by the ch 3 followed by the 2DCcl.
First ch 3, yarn over and insert hook though the st or space and pick up a loop to have 3 loops on the hook. Yarn over and pull through the first two loops on the hook and remain with 2 loops on the hook. Yarn over again, insert hook in the same st or space and pick up a loop, 4 loops on the hook. Yarn over, pull through the first 2 loops on the hook and remain with 3 loops on the hook. At this point you have 2 incomplete dc and a ch3. To finish this st, yarn over and pull through all the 3 loops on the hook.
To crochet the 3DCcl, yarn over and insert hook though the st or space and pick up a loop to have 3 loops on the hook. Yarn over and pull through the first 2 loops on the hook and remain with 2 loops on the hook. Yarn over again, insert hook in the same st or space and pick up a loop, 4 loops on the hook. Yarn over, pull through the first 2 loops on the hook and remain with 3 loops on the hook. Yarn over again and insert hook in the same st or space pick up a loop to have 5 loops on the hook. Yarn over and pull through the first 2 loops on the hook and remain with 4 loops on the hook. At this point you have 3 incomplete dc on the hook. To finish the 3DCcl, yarn over and pull through all the 4 loops on the hook.
Step 1- The bottom
Row 1: ch 13. Sc 1 in the 2nd ch from the hook, continue with 1 sc in each ch until all the chains are done. At the end of the row ch 1 and turn. (12)
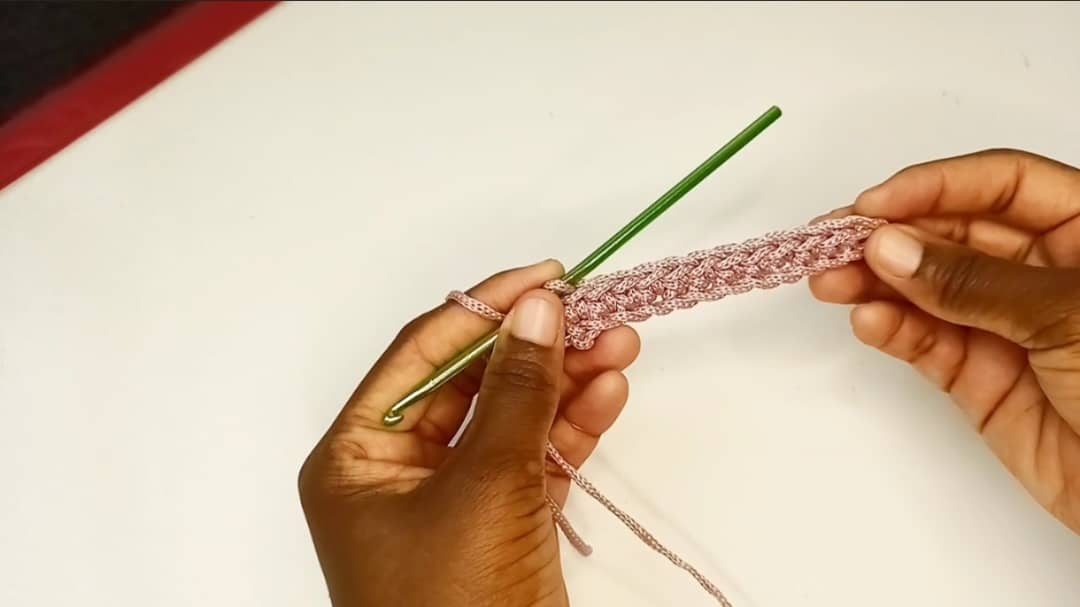
Row 2: Sc 1 in the 1st st (insert hook below the top two loops of the st), continue with 1 sc in each of the following sts until the row is done, ch 1 and turn. (12)
Row 3 to row 30: repeat row 2. Mark the first st of row 30 with a st marker. (12)
NB: For a bigger bag add more rows for the base.
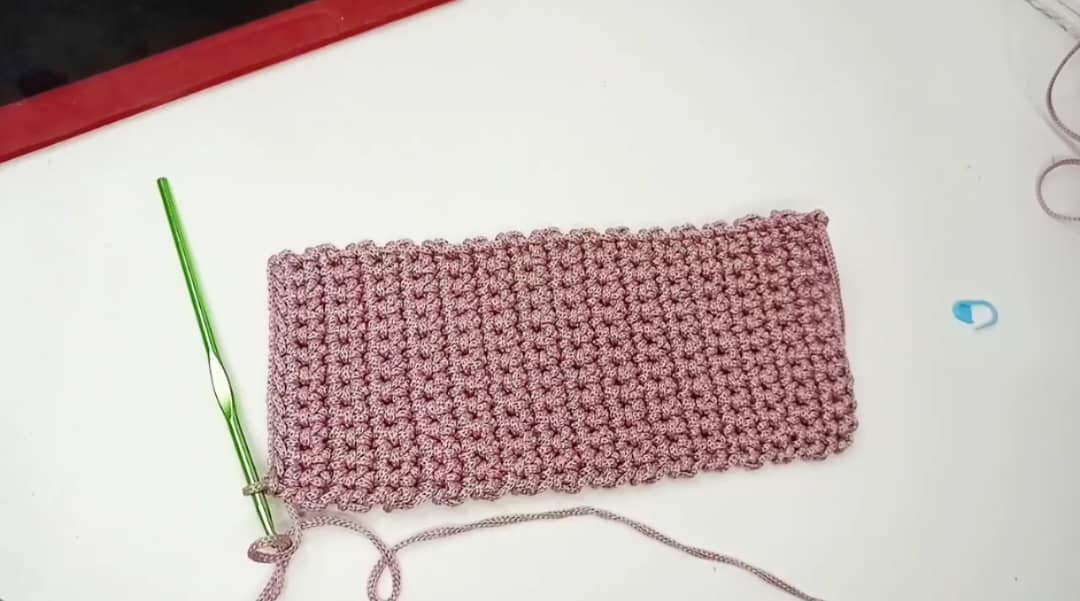
After completing row 30, do not turn but rather continue crocheting single crochet along the edges of the bottom (at each corner put two stitches) until you are back at the starting point where you put a stitch marker earlier on. (Since there are no defined stitches along the edges of the base, find a space along the edges, insert your hook and work the sc).
At the end of the round count your stitches, the total number of stitches should be in the multiples of 2. If they are not you can add 1 sc in the last space you worked in (examples of multiples of 2 are 2, 4, 6……….76, 78, 80, 84, 86, 88, 90 and so on). In this case the total number is 84 which is a multiples of 2.
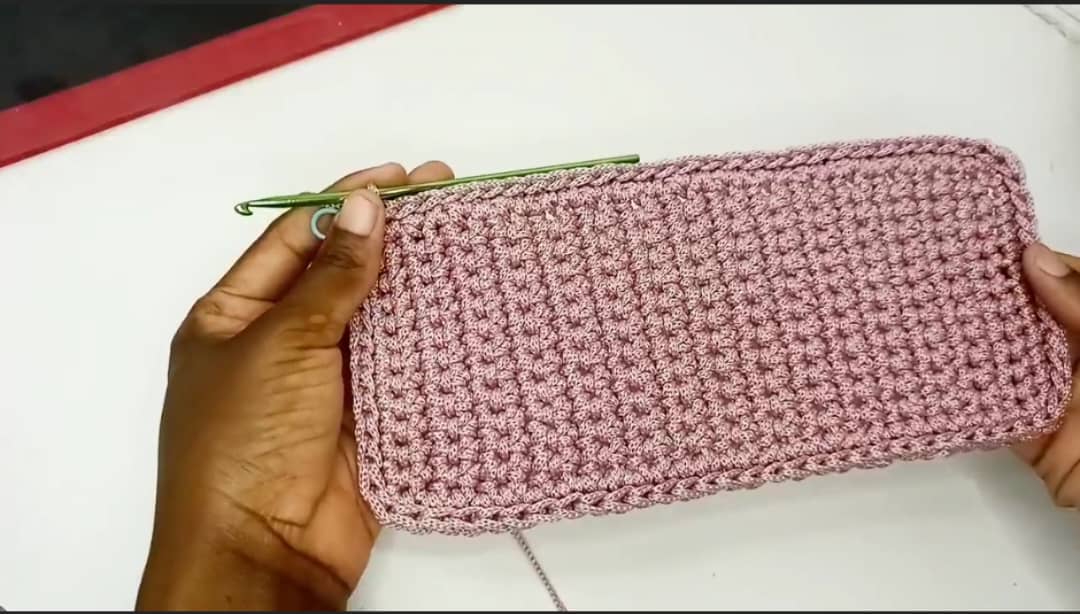
Slip st round- to finish off the base do one last round of slip stitch. Insert hook in the first st (insert hook below the top two loops of the st), the one marked earlier and work a slip st and remember to mark the first st. Continue with one sl st in each st right round until you are back at the starting point. (84)
After completing this round the bottom of the crochet bag is done. (84)
N.B: Before proceeding to round 1 of the sides make sure you have read and understood how to crochet the 3DCcl (3 double crochet cluster stitch) and the ch3 with the 2DCcl (2 double crochet cluster st) as explained above.
Step 2 – The Sides
If you turn the base of the bag, so that the sts along the edges of the bag faces you, you will notice that there are 3 loops along the edges. For the first round of the sides insert hook in the back loop (the outer 3rd loop of the 3 loops).
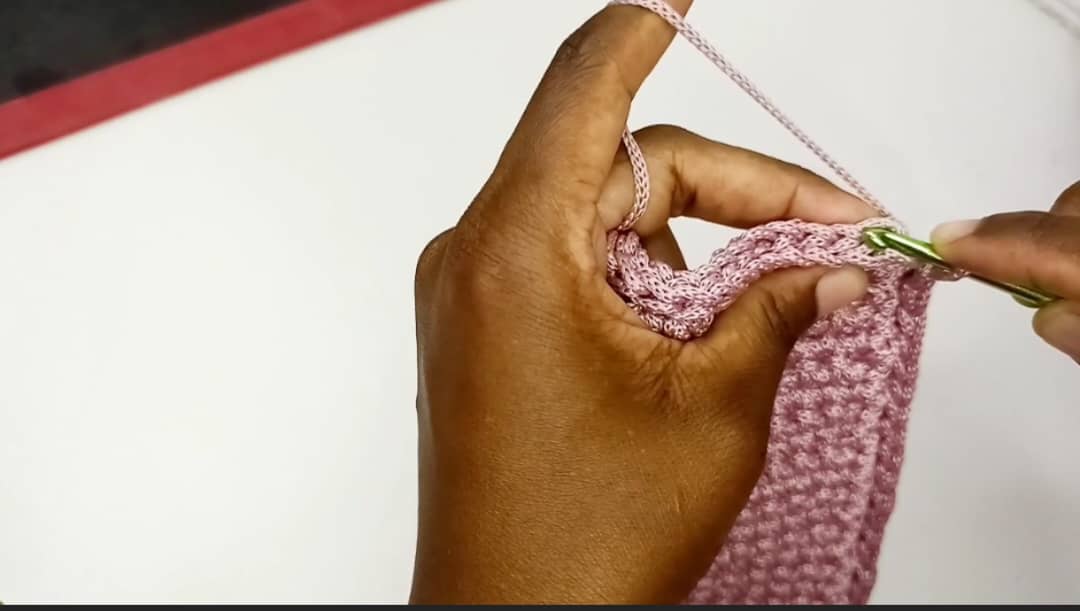
Round 1: remove st marker. Insert hook in the back loop and join with a slip stitch.
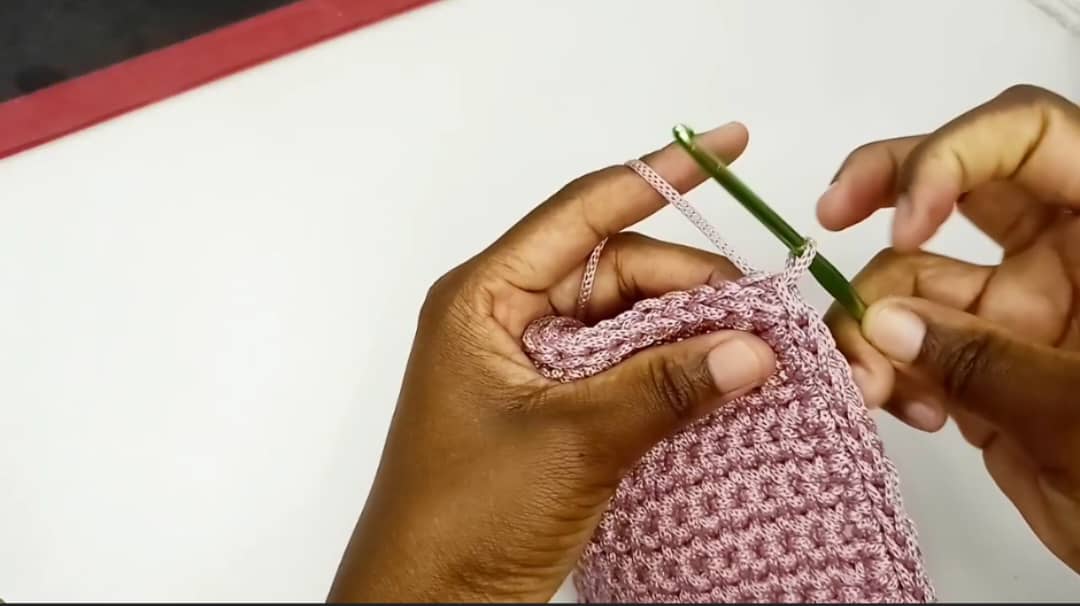
Ch 3, in the same st, put 2DCcl st as explained above. Ch 1 and skip one st. In the following st (that is the 3rd st of the round) put 3DCcl and ch 1. *Skip the next st and in the following st put 3DCcl st and chain 1* repeat from * to * until the round is done.
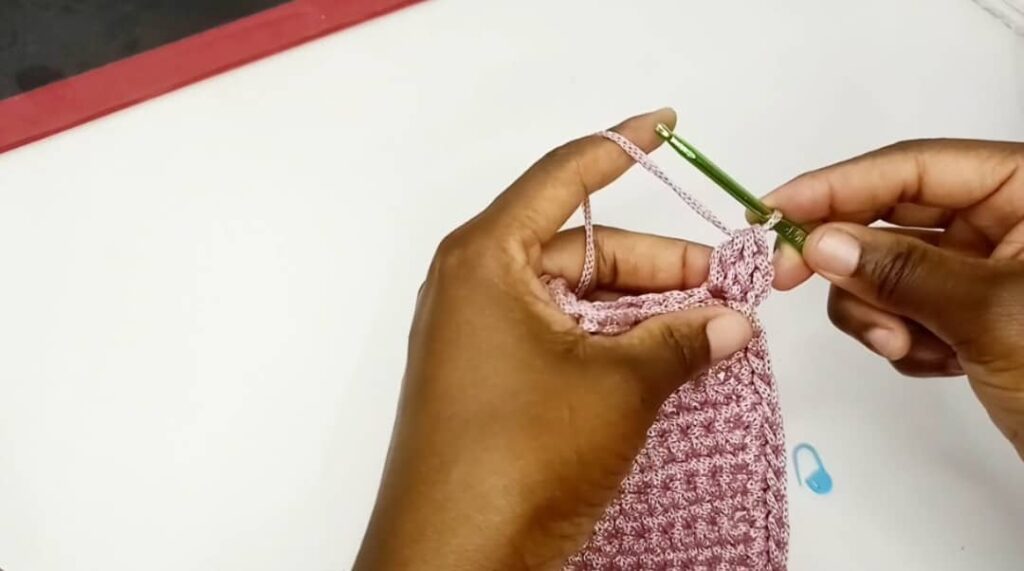
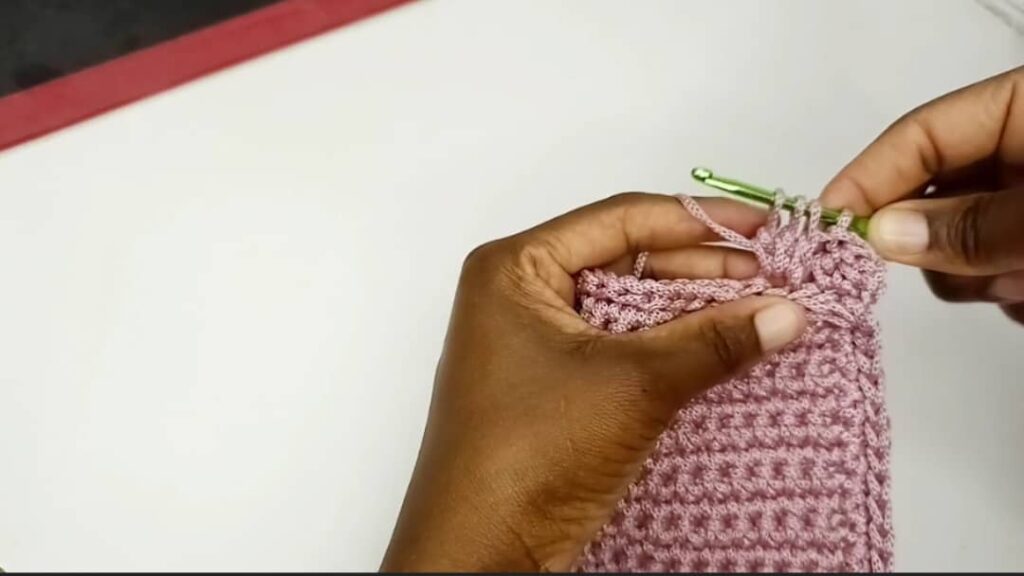
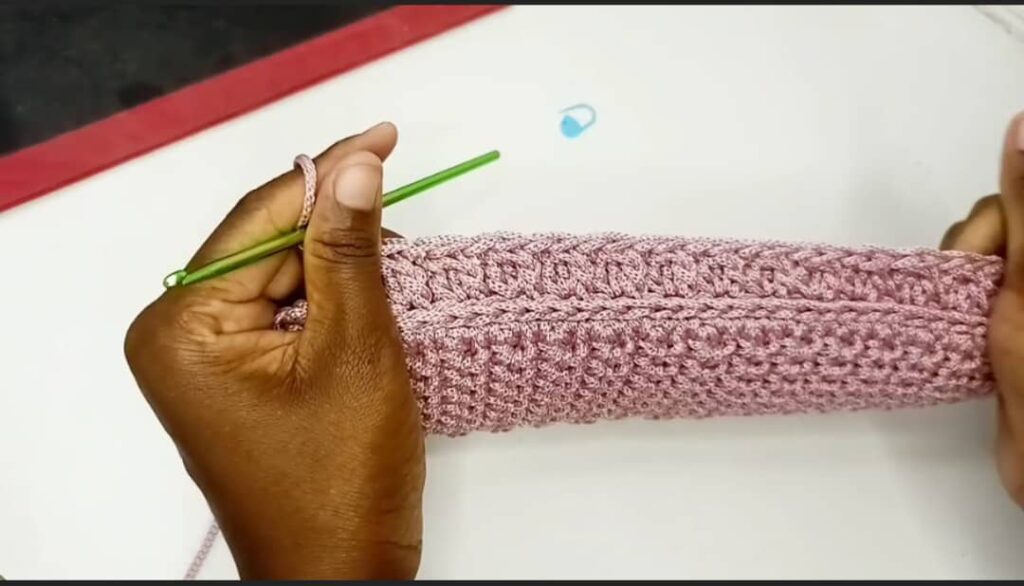
At the end of the round you will be left with one stitch (this is after doing the last 3DCcl st and ch 1) skip this last st (the slip st we did at the beginning of the round does not count as a st). Insert hook below the top two loops in the middle of the first cluster st of the round (that is insert hook at the top of the st between the chain 3 and the 2DCcl) and join with a slip st.

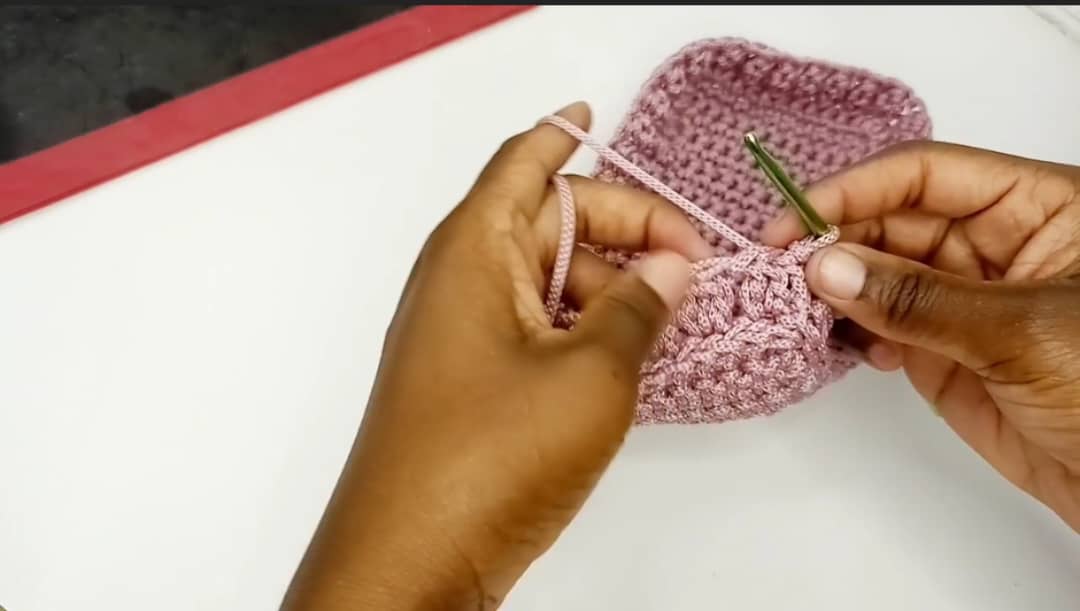
Insert hook in the following ch space and make a slip st.
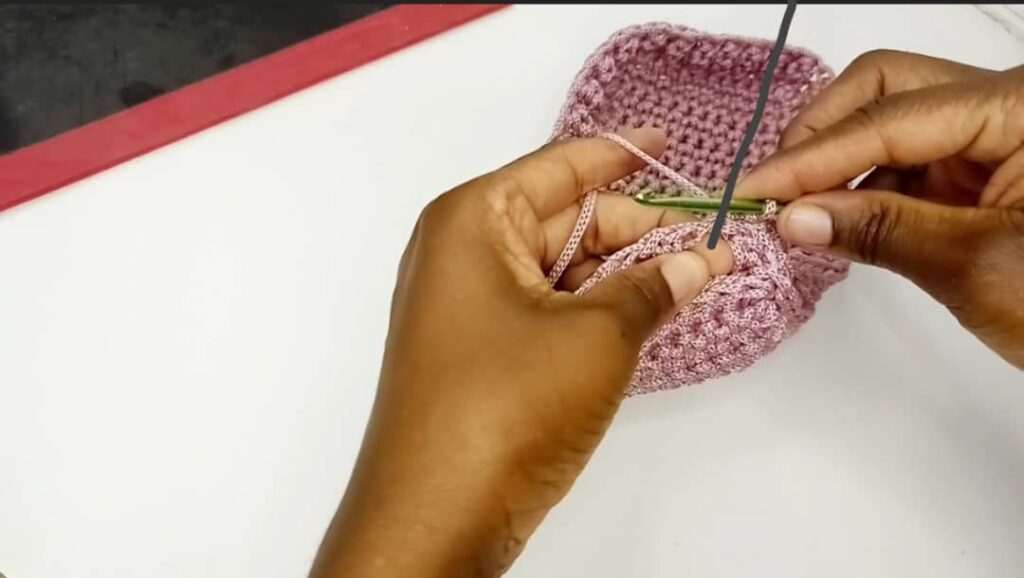
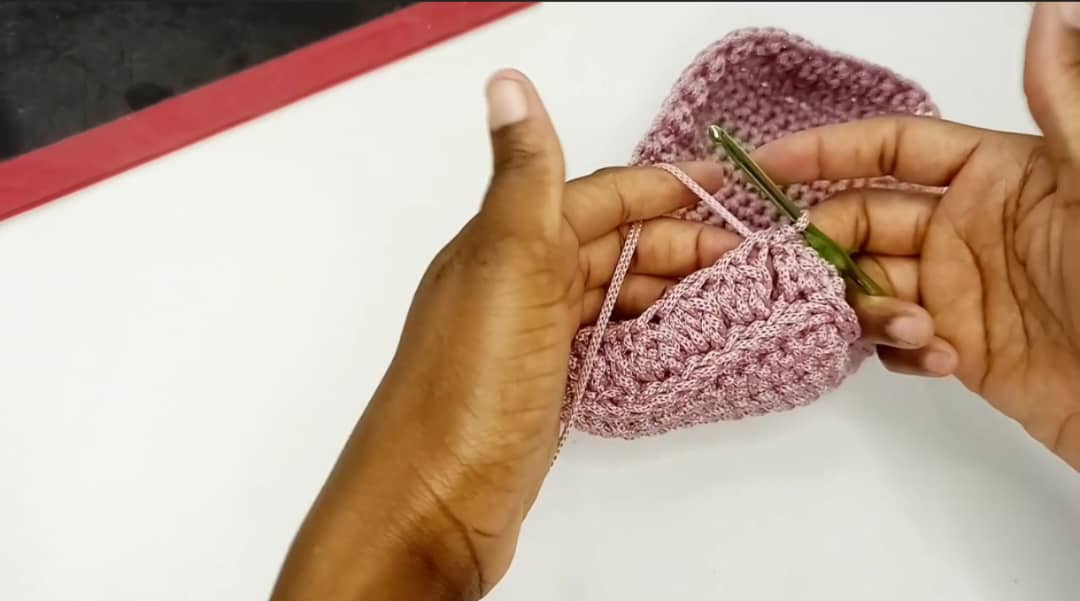
NB: from here onwards to crochet the 2DCcl st and the 3DCcl st insert hook through the chain spaces between the 3DCcl sts from the previous round
Round 2: Ch 3, yarn over and insert hook in the same ch space and crochet 2DCcl st as explained above and ch 1. *Insert hook in the next ch space and crochet 3DCcl st, ch 1* repeat from * to * until the round is done. Insert hook below the two top loops in the middle of the first cluster st of the round (the chain 3 and the 2DCcl) and join with a slip st. Insert hook in the next chain space and make a slip st and this is going to be the starting point of the next round.
Round 3 to round 12: repeat round 2.
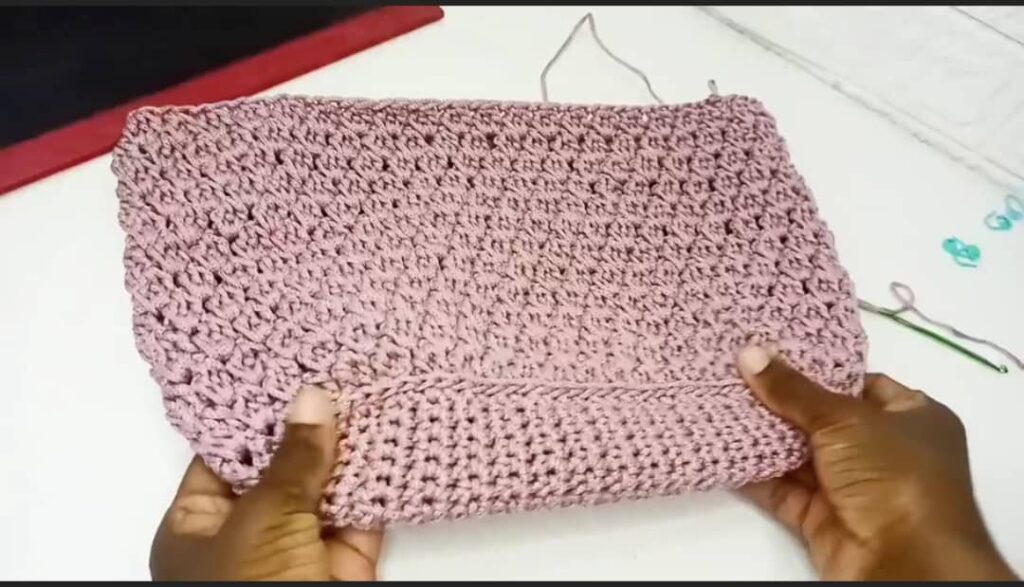
Before moving on to round 13, lay your bag flat making sure that the base is divided equally, such that the half side of the base is facing upwards and the other half downwards.
Step 1: Put one st marker on one edge (this is just a reference point for marking the sts we are to skip since the real starting point is not on the edge of the bag. It will be removed later when we start crocheting). So our bag has got two sides the one facing downside and the one facing upwards.
Step 2: On the downside of the bag, start counting 6 stitches from the marked st (that is count 6 st excluding the marked st. if you did a bigger bag you may increase the number of sts from 6) and we are going to give this st marker a number and it is going to be st marker number 1.
Step 3: On the side facing upwards start counting 6 sts from the marked st along the edge and mark (that is count 6 st excluding the marked st) and this is st marker number 2. Remove the st marker along the edges.
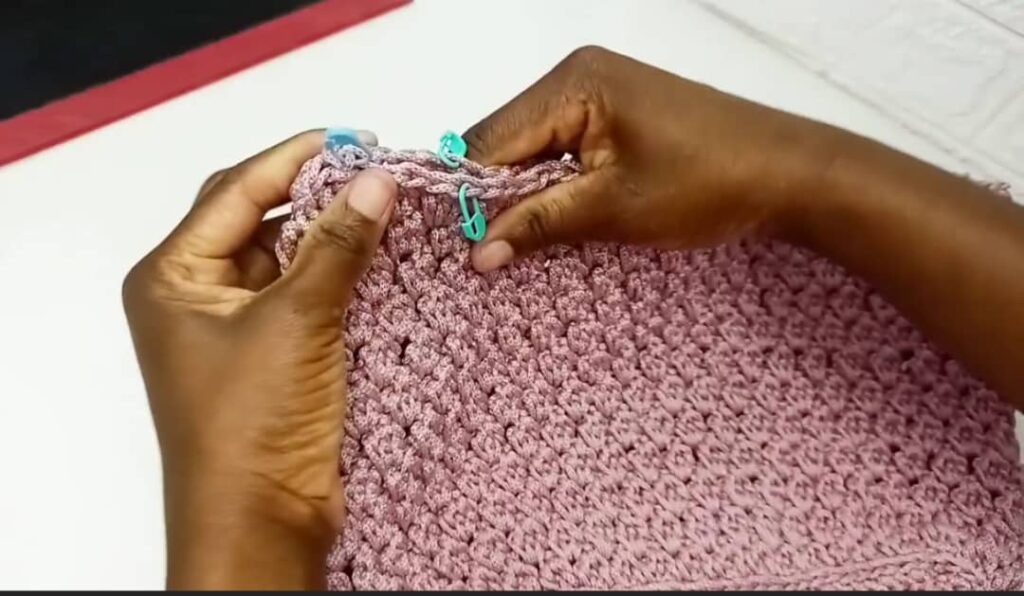
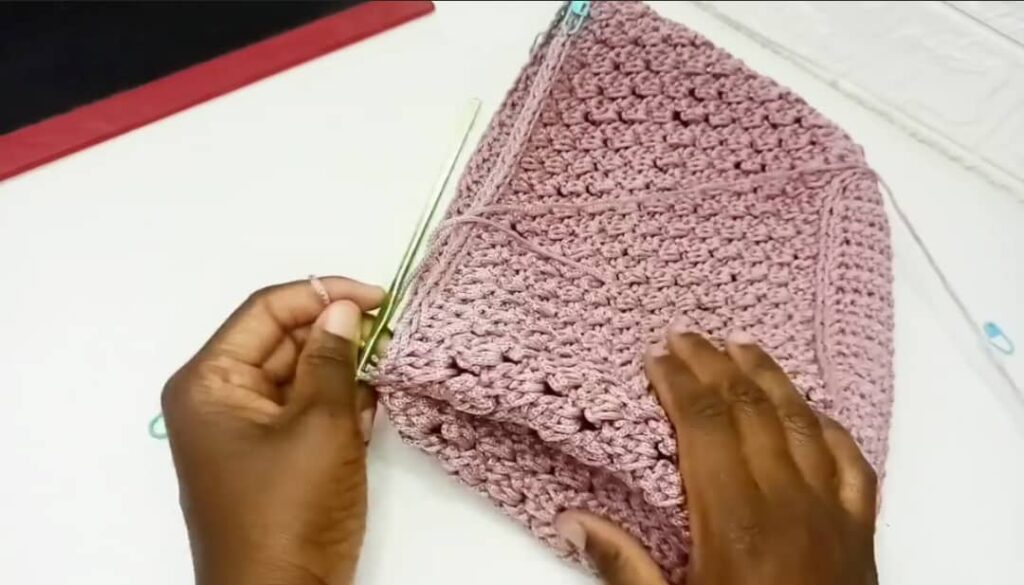
Repeat from step 1 to step 3 on the other edge of the bag and put st marker number 3 on the downside of the bag and st marker number 4 on side facing upwards of the bag. You should have 4 st markers.Round 13: Mark the first st of the round. Insert hook at the top of each stitch (below two loops for the cluster stitch and for the chain between the clusters remember not to insert in the ch space but rather insert hook between the top two loops of the ch and the back bar) and slip stitch in every stitch until you reach st marker number 1 (the one marked in steps 2 and 3 above). Make a slip st in st marker number 1, skip all the sts between st marker number 1 and st marker number 2, fold the skipped part of the bag inwards and proceed to make a slip st in st marker number 2. Continue with 1 slip st in each st until you reach st marker number 3. Make a slip st in st marker number 3, skip all the sts between st marker number 3 and st marker number 4, fold the skipped part of the bag inwards and proceed to make a slip st in st marker number 4. Continue with sl st until you are back at the starting point. Cut and fasten off the ends.
Step 3 – The handle
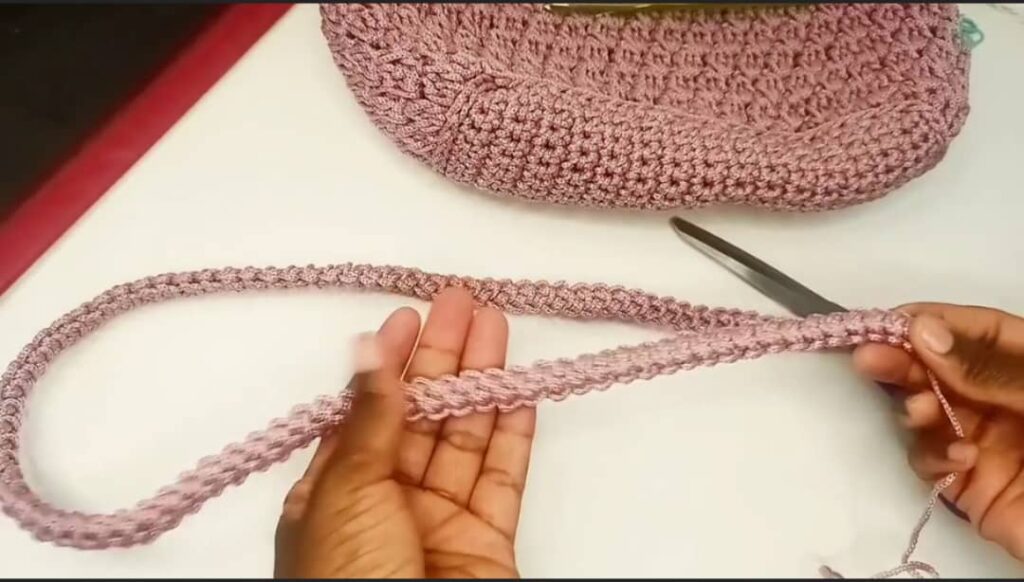
The handles are going to be Romanian cords. Here is how you crochet a Romanian cord:
Step 1: leave a tail of about 30cm at the start as well as at the end of the cord. Chain 2, work 1 sc into the 2nd chain from the hook. As you do this pay attention to the first chain you skipped, it will fold up alongside your stitch and create a loop on the side.
Step 2: Turn and crochet 1 single crochet into this side loop. As you do this, both single crochets including the previous one form 2 little side loops.
Step 3: Turn and crochet 1 single crochet in these 2 side loops. Repeat the last step until you reach a length of about 100cm or to your desired length. On one end of the handle insert the tail left earlier on into a tapestry needle and fasten it off neatly along the handle.
Attaching the handle:
Step 1: We are going to insert our handle through the space between the clusters of the last round.
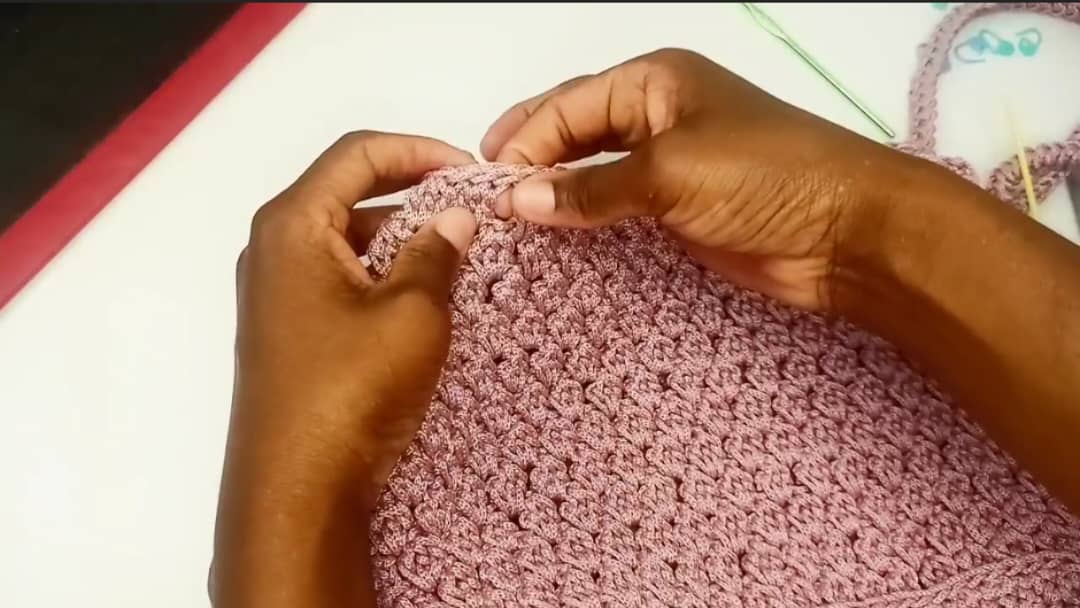
Count two cluster sts from the edge on the downside of the bag and insert the handle through the next space, proceed to insert the handle trough the space on the topside of the bag as shown below.
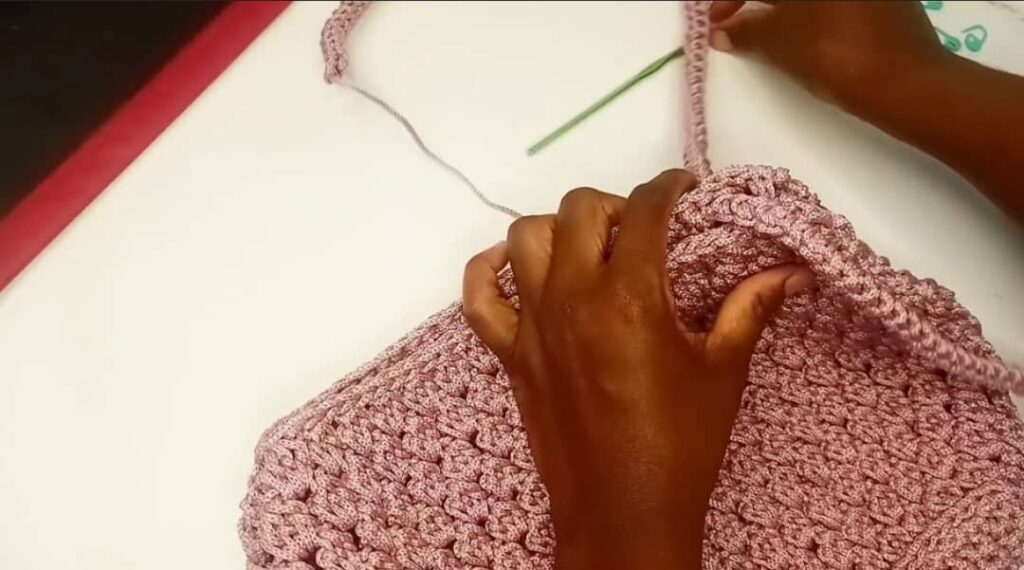
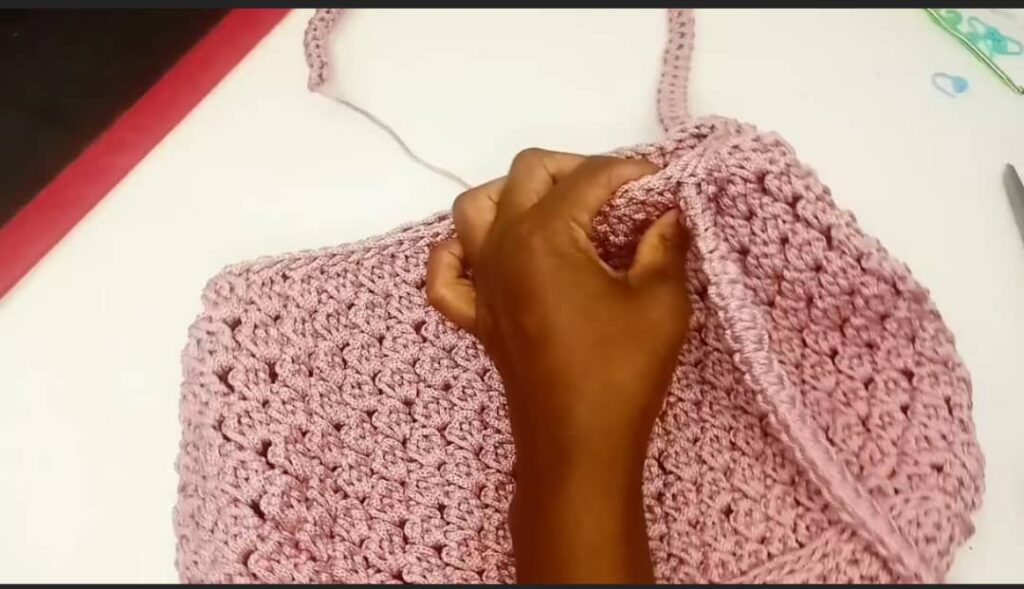
Proceed to the other edge of the bag making sure to insert the handle 2 clusters from the edge on both the topside and the downside.
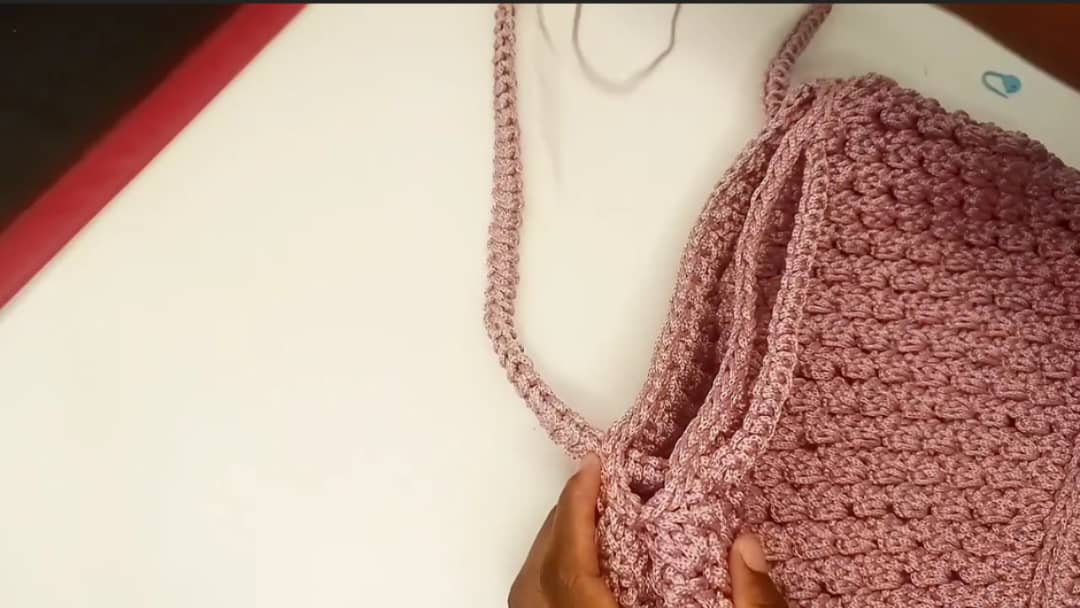
Before joining the two ends of the handle make sure that the handle is not twisted. Insert the tapestry needle along the side loops of the handle and join the ends neatly. Cut and fasten off the ends. Adjust the handle on the bag.
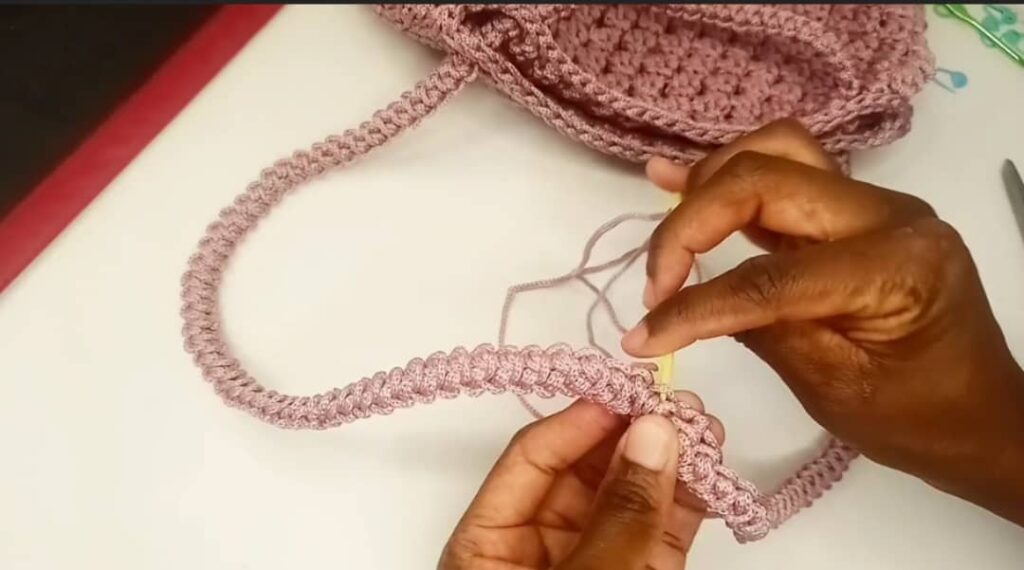
Attach the magnetic snap and the handmade tag to finish off the bag.
You can watch the step by step video tutorial on how to crochet this bag here
