
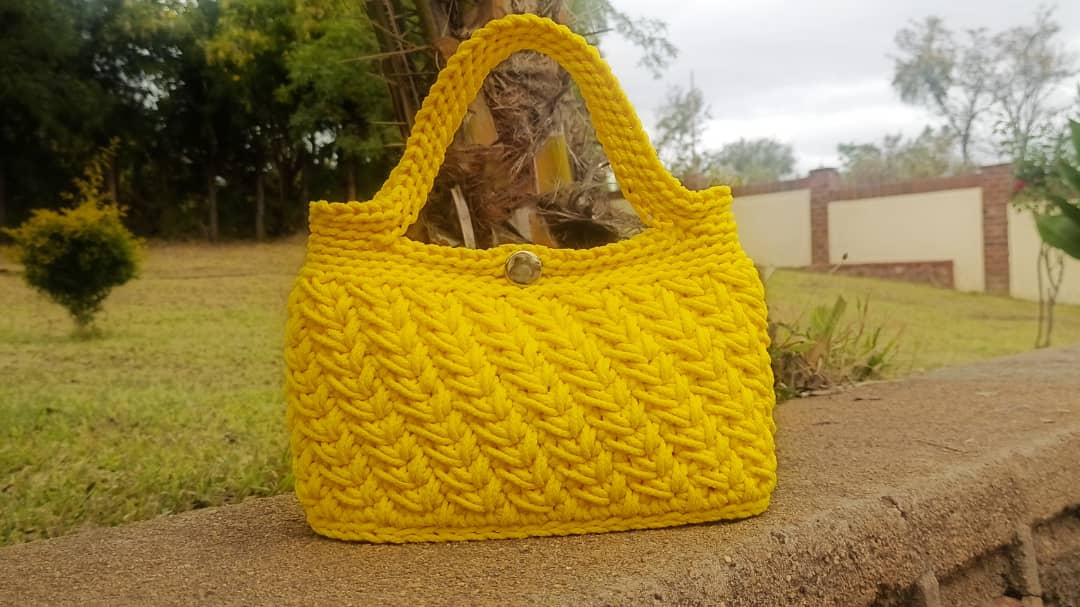
The Daily crochet purse pattern is a free written crochet pattern for a portable handbag. This crochet purse similar to the Other handbag.

Level of skill Required:
Knowledge on how to crochet single crochet and slip stitch is required for this pattern.
Material list for the Daily purse crochet pattern:
- Crochet Hook size 6mm
- Macramé/ Rope or t-shirt yarn or any other bulky yarn that is about 3mm thick
- Meters used – 150meters/164 Yards
- Scissors
- 7 Stitch markers
- Button (20mm in diameter)
- Sewing needle and sewing thread (for the button)
One size bag
Finished bag measurements
17cm height and 29cm width
Crochet Terms in US Terminology
- rep – repeat (do it again)
- inc – increase to put more than one stitch (in this case 2 stitches) in one stitch
- st (s) – stitch(es)
Stitch guide
- ch – chain
- sl st – slip stitch
- sc – single crochet
Pattern notes:
- You are going to work in rounds.
- Remember to mark the first stitch at the beginning of each round
- The number in the brackets at the end of each instruction is the total number of stitches for that round.
Instructions: The Daily Purse crochet pattern free
The bag is made in 3 steps
- Step 1 – the bottom
- Step 2 – the sides
- Step 3 – the handles
Step 1- The Bottom
Foundation round: ch 17. Sc 1 in the 2nd ch from the hook and mark with a st marker (take note of the color of this st marker or if possible it should be a different color from the rest of the markers as it marks the starting point of our round), continue with sc in the next 14 ch. Sc 5 in the last ch, mark the 2nd, 3rd and 4th stitches of the 5 sc that you just did with st markers. Continue to crochet in the back of the chains, sc 4 in the last chain and mark the 2nd, 3rd and 4th stitches of the 4 sc that you just did with st markers. (38)

Round 2:
Sc 1 in the first st with marker and put back the stitch marker. *sc 1 in the following sts which do not have stitch markers until you reach a st marker, sc 2 in the sts with st markers (put back the st marker into the 1st st of the increase).* Repeat from * to * until you are back at the starting point. (44)
Round 3 and 4: repeat round 2. Round 4 should have a total of 56 sts. Remove all the other st markers and remain with the one marking the starting point.

Round 5: crochet slip st in every st right round. (56)
Step 2 – The Sides
Round 1: remove the 1 loop on the hook and pull this loop through the first slip st of the round as shown below and chain 1(this ch 1 does not count as a st).

sc 1 in the back loop of each stitch until you are back at the starting point.

Round 2: follow the steps below
Step 1: Sc 1 in each of the first 2 sts, (remember to mark the first st)
Step 2: Insert hook back into the same st as first st. Yarn over and pull up a long loop,

Step 3: Yarn over and insert hook into next stitch two rounds below. Yarn over and pull up another long loop.


Step 4: Yarn over and pull through all 4 loops. You have just made the first long sc2tog. Skip unworked st behind long stitch just made.

Repeat the previous 4 steps all the way around. The diagonal chevron pattern will begin to form. At the end of the round, sc 1 in each of the last 2 sts. The final long stitch is going to be the first st of round 3. Work the second leg of this st, in the same st as the very first st of the round. Make sure to skip unworked st behind the long stitch you just made.

Round 3 to round 11: repeat the steps 1 to 4 in round 2. At the end of round 11, Sc 1 in each of the last 2 sts, Insert hook back into the same st as first st, yarn over and pull up a long loop and then do a slip st into the back loop of the first st. (This slip st is the first st of round 12)

Round 12 and Round 13: crochet slip stitch in the back loop right round

The buttonhole
Round 14: First mark st number 42. Slip st in the back loop of each st until you reach st number 42. Chain 2 and skip st number 42, (this is our button hole) continue with slip st until you are back at the starting point.
Round 15: crochet slip stitch in the back loop right round
Step 3- The Handles
Round 16: counting from the first st put st markers in st number 5; 24; 33; 53
Slip st in the back loop of the first st, continue with slip stitch in the back loop of the following stitches until you reach the next stitch marker (in stitch number 5) crochet slip stitch by inserting your hook below the two loops (not the back loop, this is to ensure a strong attachment of the handle to the bag) chain 32 ( this is our first handle) and attach the chain in the next stitch marker with slip st (st number 24 below both loops) continue in the following stitches with slip stitch in the back loop until you reach the next stitch marker.

In the next stitch marker (in stitch number 33) crochet slip stitch by inserting your hook below the two loops, chain 32 (this is our second handle) and attach the chain in the next stitch marker with slip st (st number 53 below both loops) continue in the following stitches with slip stitch in the back loop until you finish the round.
Round 17:
slip stitch in the back loop of every stitch including the handles
Round 18: repeat round 17. Join with a slip stitch the last st to the first st. Cut and fasten off the ends.

Sew the button inside the bag directly opposite the button hole as shown below:

Cut and fasten off all the other ends. Your bag is complete. You can check the step by step video tutorial here