Crochet free purse pattern.
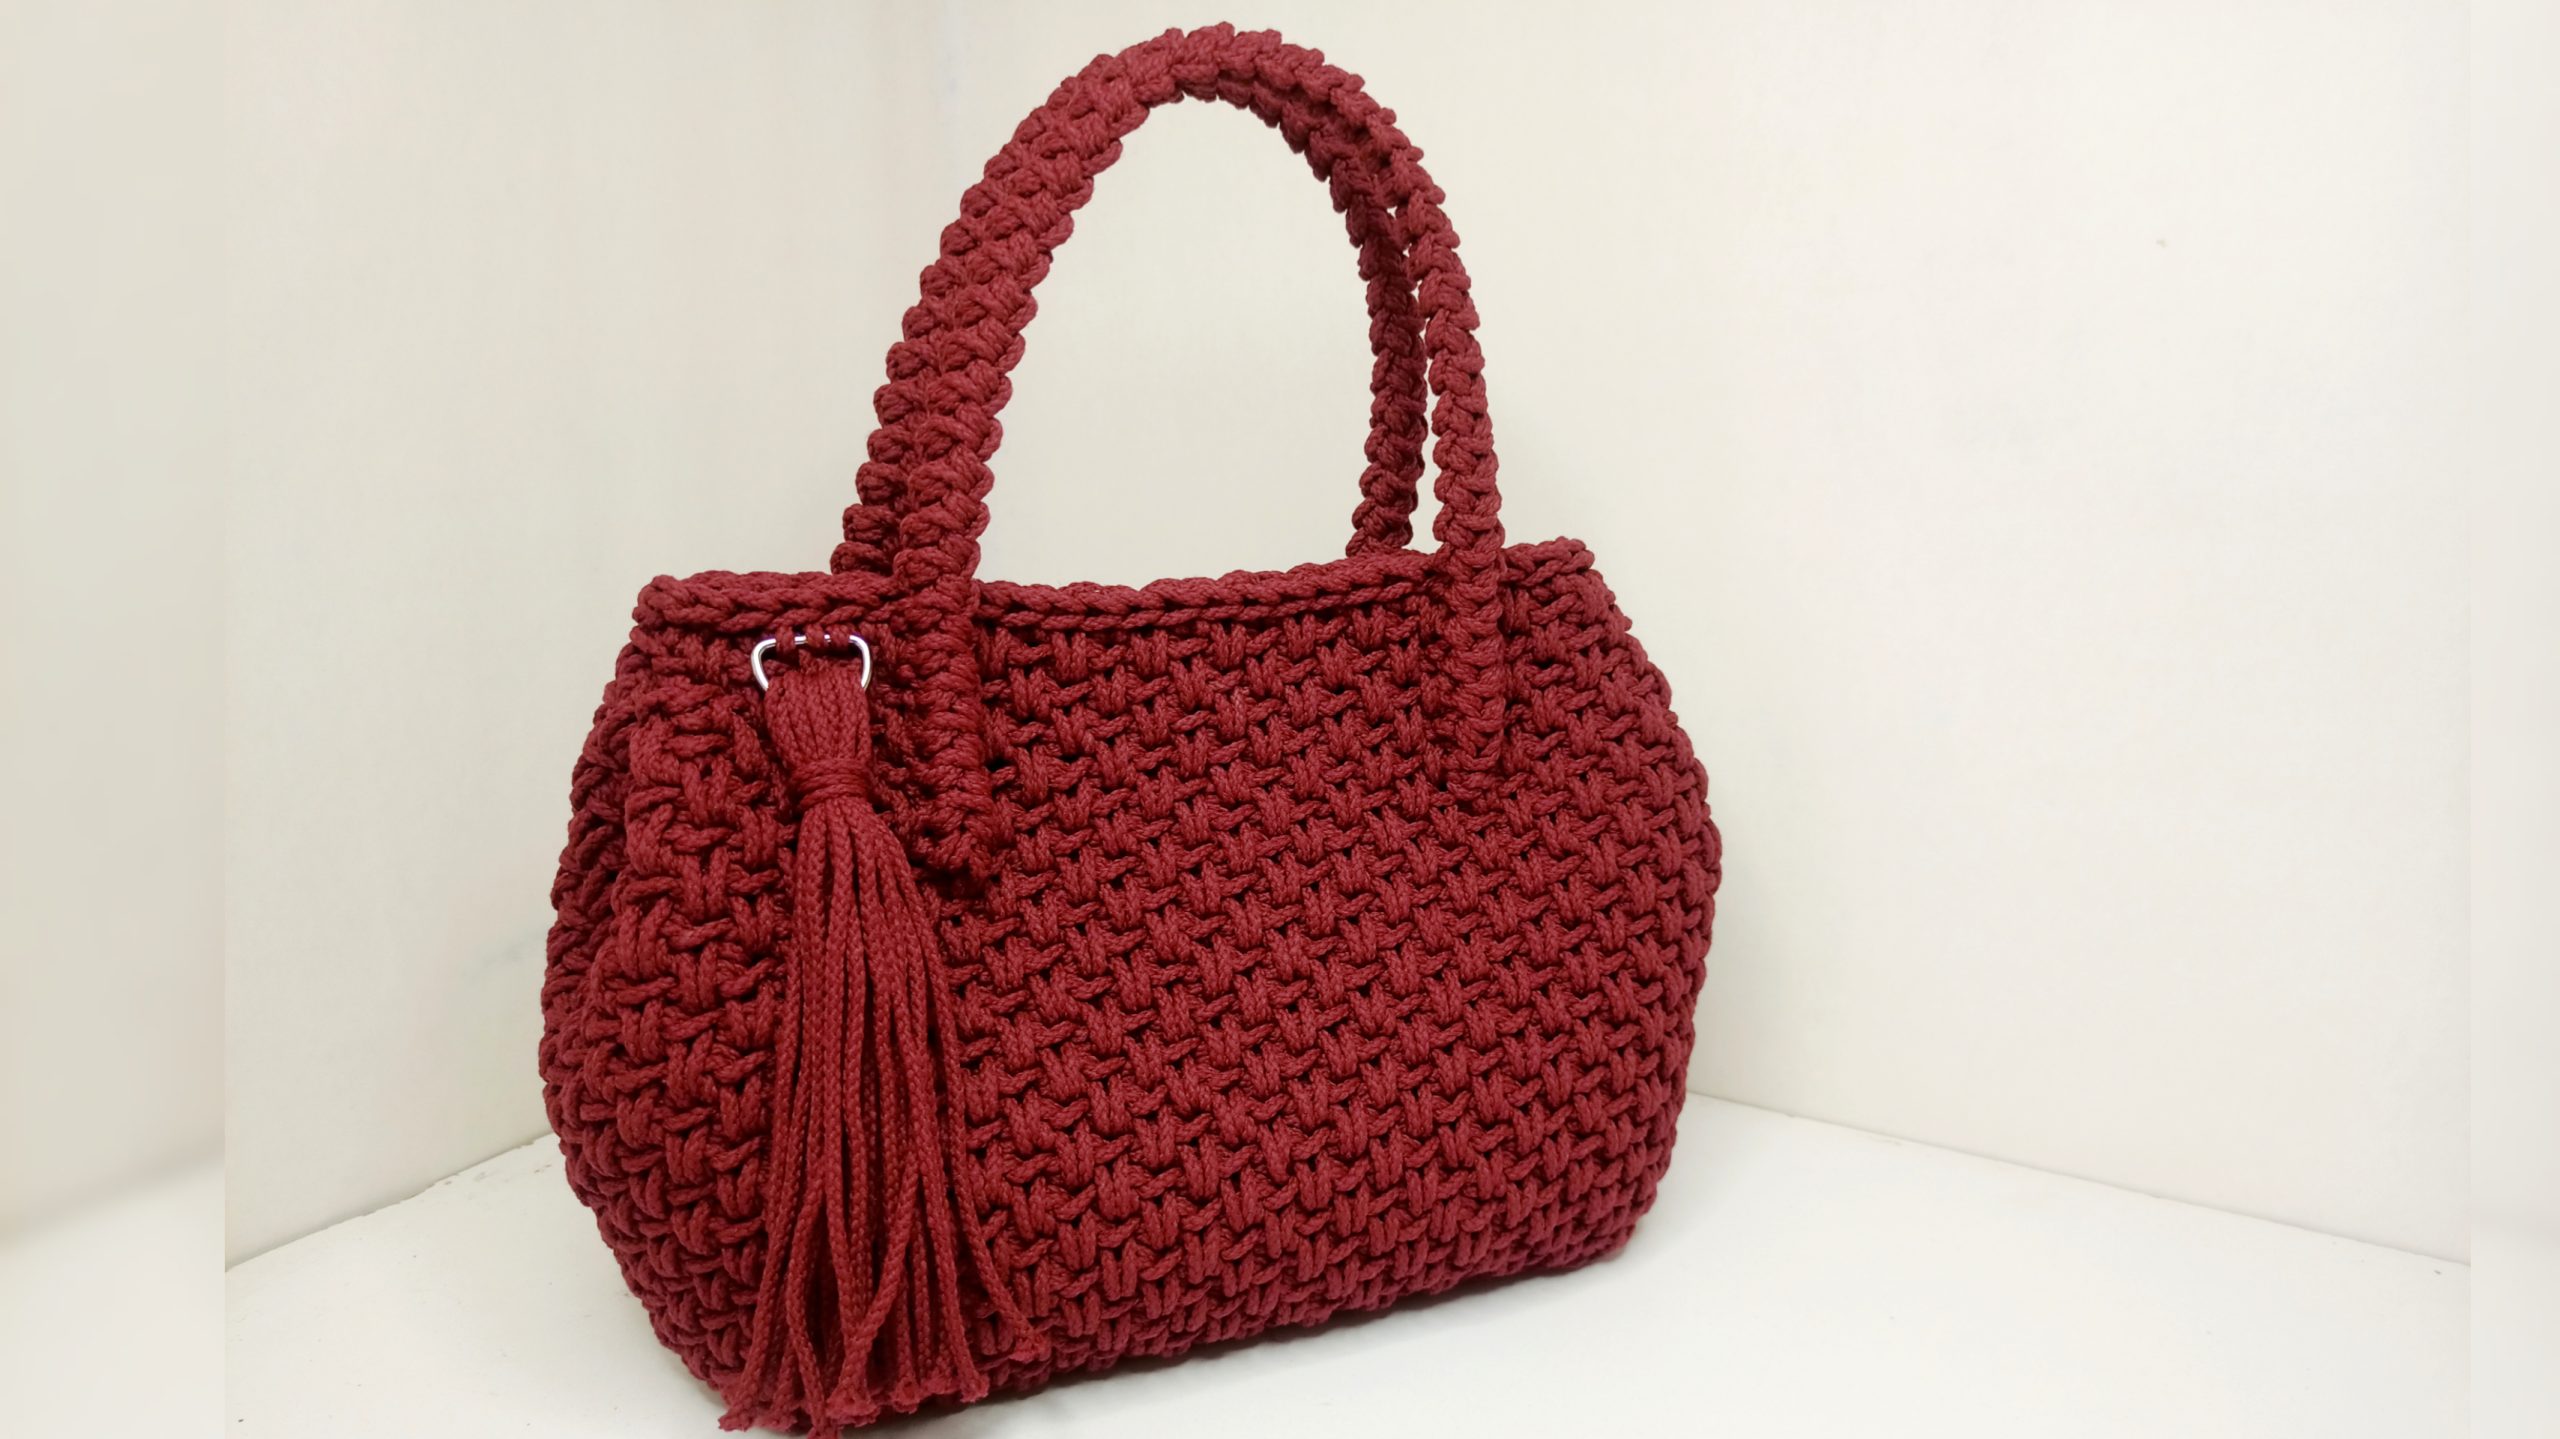
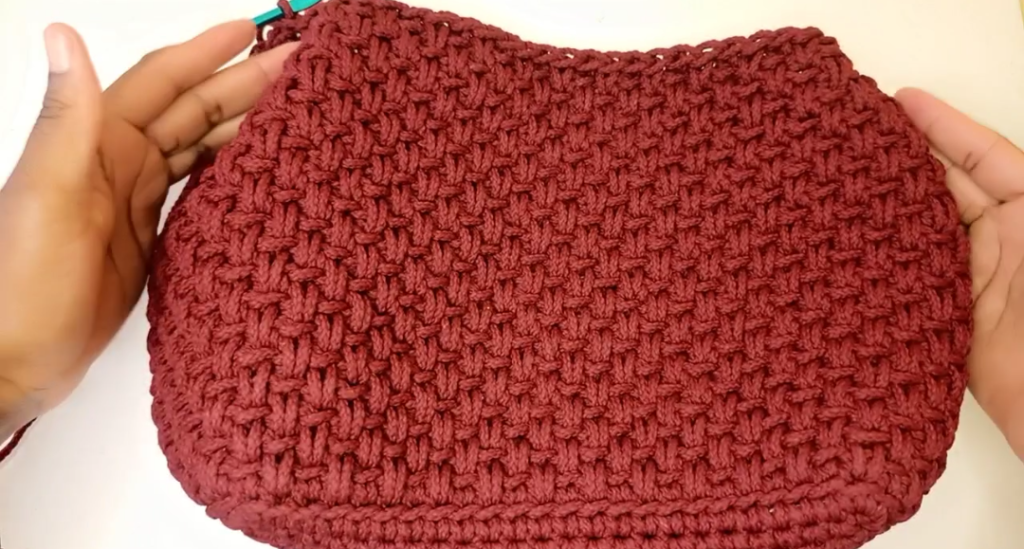
Hie everyone….it’s been long since I last posted a pattern. I’m back now. So today’s pattern is on how to crochet a purse , an elegant maroon purse. I love it especially in winter together with your boots and jacket and you just place it on your arm☺️.
You can also check my other free bag patterns similar to this one, the Other handbag pattern and the Daily purse pattern. I didn’t put a zipper on this one or a button but if you want to put one you can check out how I put a button on the Daily purse or a zipper on the Other handbag pattern.
If you prefer an ad-free, printable PDF version this pattern, you can purchase it right below by clicking the BUY NOW button. Thank you for supporting my designs.
Level of skill Required:
Knowledge on how to crochet single crochet and slip stitch is required for this pattern.
Material list:
- Crochet Hook size 5mm
- Macramé/ Rope or t-shirt yarn or any other bulky yarn that is about 3mm thick
- 289 yards needed
- Scissors
- 7 Stitch markers
- Metal ring (for tassel)
- Tapestry needle
One size bag
Finished bag measurements
14 inches height and 9 inches width, handles length each 14 inches
Crochet Terms in US Terminology
- rep – repeat (do it again)
- st (s) – stitch(es)
- ** – means do what is written in-between the asterisks (for example rep** , means repeat what is written in between the asterisks)
Stitch guide
- ch – chain
- sl st – slip stitch
- sc –single crochet
Pattern notes:
- You are going to work in rows for the base and rounds for the sides.
- Remember to always put back the st marker back after crocheting the first st of the round (for the sides)
- The number in the brackets at the end of each instruction is the total number of stitches for that round.
Instructions:
Make the bag in 3 steps
- Step 1 – the bottom
- Step 2 – the sides
- Step 3 – the handles
The spike stitch (elongated single crochet stitch)
Here is how you crochet the spike stitch:
The spike stitch is worked exactly like a regular single crochet except that it is longer than the traditional sc. To crochet the spike stitch, insert hook under the next single crochet back loop only of the previous round, pull up a long loop to the height of the working round.

Now you have two loops on the hook, yarn over and pull through both loops to have one spike stitch. You should remember to skip the stitch of the working round located behind the spike stitch just made. This is because the spike stitch overlays the stitch of the working round and replaces it.

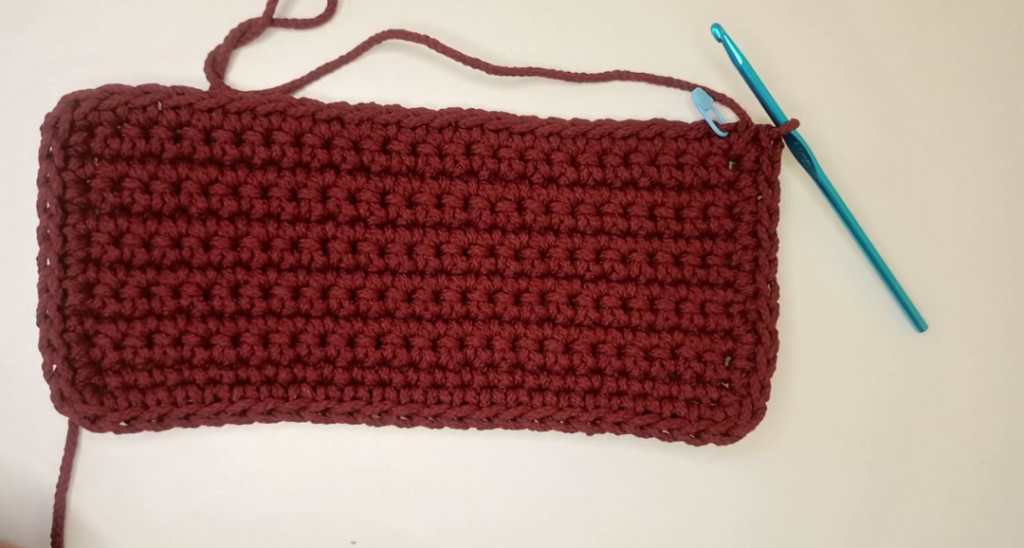
Step 1- The bottom
Row 1: ch 25. Sc 1 in the 2nd ch from the hook, continue with 1 sc in each ch until all the chains are done. At the end of the row ch 1 and turn. (24)
Row 2: Sc 1 in the 1st st , continue with 1 sc in each of the following sts until the row is done, ch 1 and turn. (24)
Row 3 to row 11: repeat row 2. Put a stitch marker in the first st of row 11.
After completing row 11, do not turn but rather continue crocheting single crochet on all the edges of the bottom ( at each corner put two stitches) until you are back at the starting point where you put a stitch marker earlier on. At the end of the round count your stitches, the total number of stitches should be an odd number. If they are not you can either add or remove a stitch (NB examples of odd numbers are 71, 73, 75, 77 and so on). In this case the total number is 70 which is not an odd number so I add one more stitch at that corner to make them 71. After completing this round the bottom of the crochet bag is done. (71)
Step 2 – The Sides
From here onwards crochet in rounds
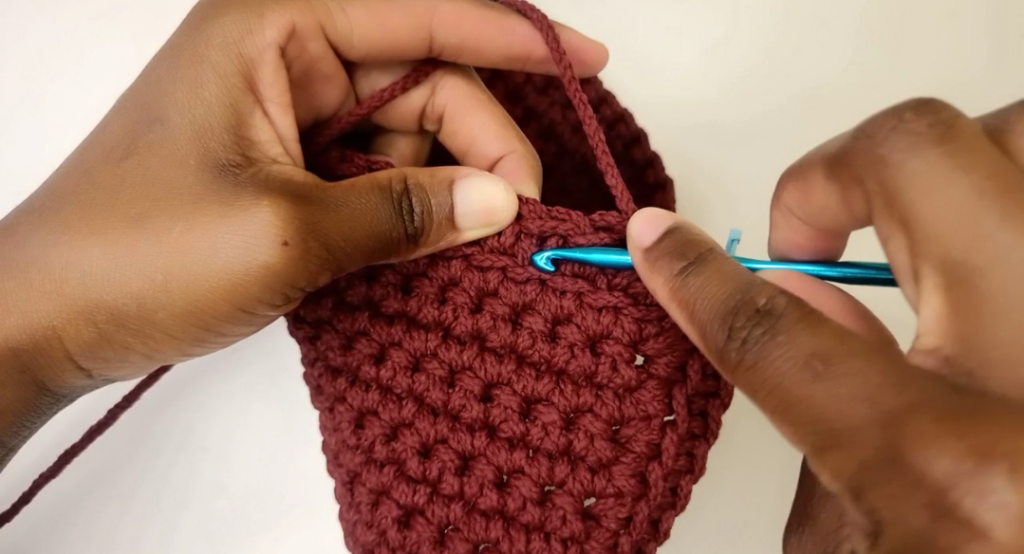
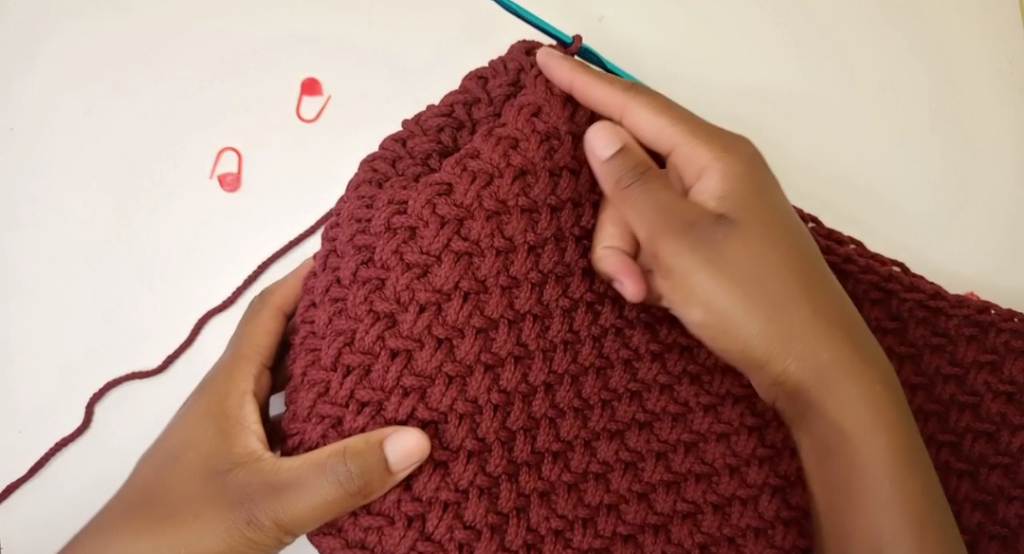
Round 1: sc 1 in the back loop of the first st put back the st marker, continue with 1sc in each st (back loop) until the round is done. (71)
Round 2: sc 1 in the back loop of the first stitch, *in the following st crochet 1 spike stitch (refer to the top on how to crochet the spike st). sc 1 in the back loop of the next st* rep from * to * until the round is done.

Take note: when you start a round with single crochet in the back loop st you finish with single crochet in the back loop st, likewise when you start with spike st.
Round 3: since the last st of round 2 is sc, put 1 spike st in the first st, *sc 1 in the back loop of the following st, in the next st put 1 spike st* repeat from * to * until the round is done. (71)
Round 4 to round 20: repeat round 2 and round 3. (71)

Before moving to round 21, lay your bag in a rectangular shape so that it has four corners. Since the stitch marker marking the first stitch is on a corner/edge, that corner is going to be the first corner. Start counting from the starting point and put other st markers in st number 25; 36; 60 to have four corners. (The St marker marking the starting point should be of a different colour from the rest)

Round 21- continue with the pattern as done in the previous rounds. When you are towards the next stitch with marker that is stitch number 25. Crochet in that st in this case spike st, and then skip all the stitches in between st 25 and st 36 and go on to crochet in st 36 which is single crochet in the back loop. This way we have folded the bag sides inwards as shown below.
(NB: the stitches with markers should be alternating that is in this case st 25 is going to be a spike st and st 36 is sc in back loop, they should not be the same like both are spike stitches as this will distort the pattern. If for example they are the same like st 36 is going to be a spike st rather skip it together with the others skipped and move on to crochet in the next stitch or crochet the st before st 36)
Continue with the pattern until you reach st 60. You will find that st 60 is going to be a sc in back loop as well as the first stitch…. This will distort the pattern so instead of using the first stitch we will use the stitch before the first st (which is the last st of the round). Therefore crochet sc in the back loop in st 60 and then skip the sts in between and crochet spike st in the last st of the round.
After completing this round the bag should have two opposite sides folded inwards as shown below.
Round 22: remove all the other stitch markers and remain with the one marking the starting point. Crochet the pattern as done in previous rounds until the round is done. At the folded sides just continue with the pattern.
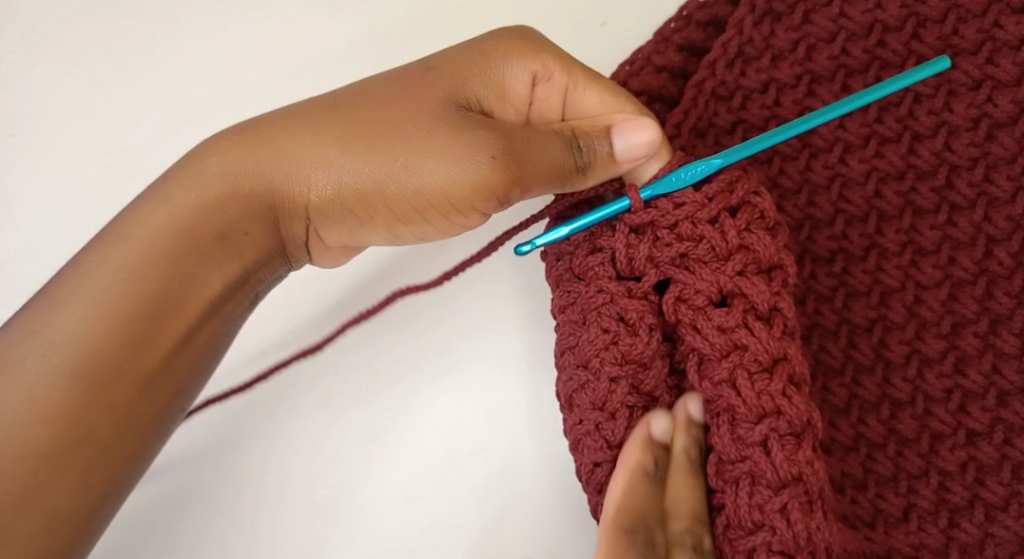
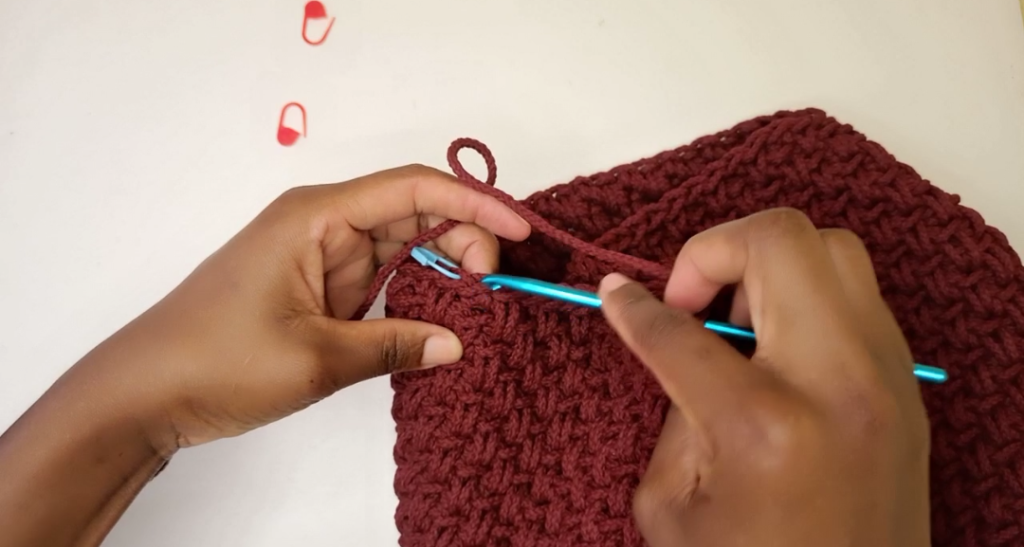
Round 23: insert hook at the top of each stitch (below two loops) and slip stitch in every stitch until the round is done. Cut and fasten off the ends.
Step 3 – The handles
The handles are going to be Romanian cords. Here is how you crochet a Romanian cord:
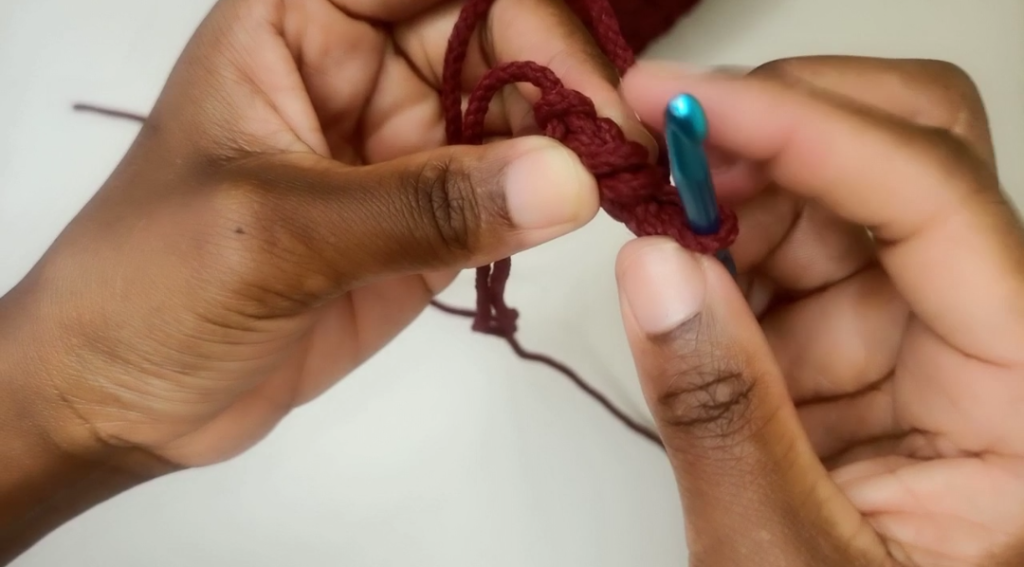
Step 1: leave a tail of about 30cm at the start as well as at the end of the cord. Chain 2 and work 1 sc into the 2nd chain from the hook. As you do this pay attention to the first chain you skipped, it will fold up alongside your stitch and create a loop on the side.
Step 2: Turn and crochet 1 single crochet into this side loop. As you do this, both single crochets including the previous one form 2 little side loops.

two side loops near the thumb holding the hook.
Step 3: Turn and crochet 1 single crochet in these 2 side loops.
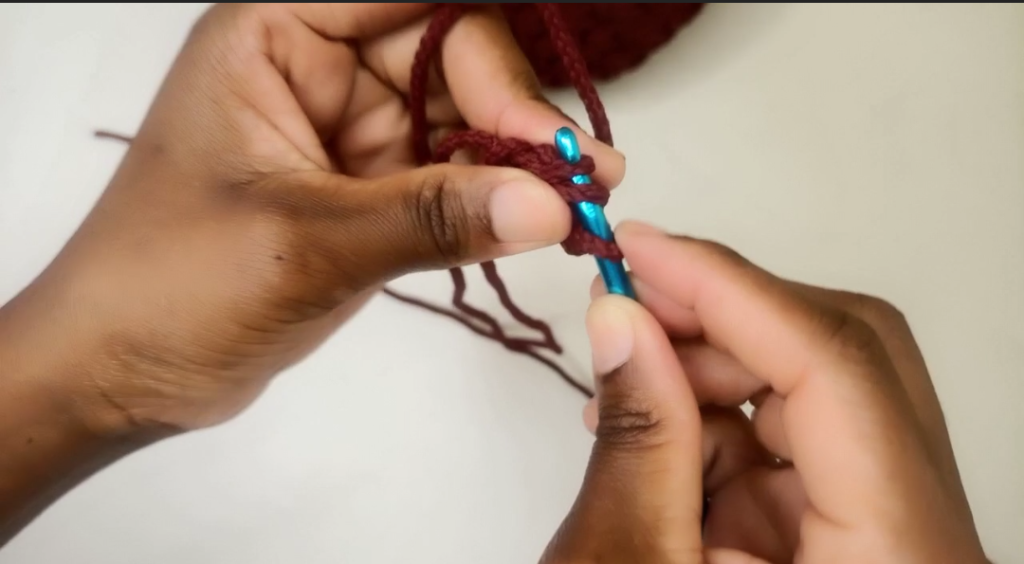
Repeat the last step until you reach a length of about 45cm to 50cm. After the first handle is done repeat step 1 to 3 and crochet another second handle.
Attaching the handles:
Step 1: Lay your bag flat. Put one stitch marker at one edge and put another at the other edge as shown below.

Step 2: From one stitch marker at the corner count 6 st and put a st marker and do the same for the other st marker on the other edge as shown below
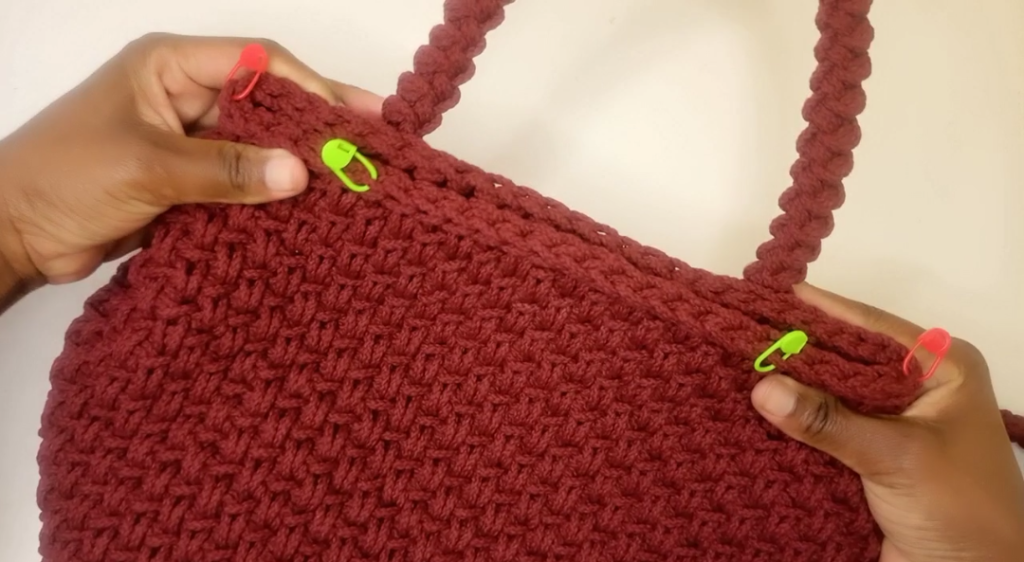
Repeat the last step on the other side of the bag. Remove the st markers at the corners those used in step 1 earlier on to remain with 4 st markers (2 on each side)
Step 3: Place one handle on one side of the bag on 2 stitches marked in step 2. Start joining six rounds below as shown below.

Join by sewing the handle to the bag with a tapestry needle. Try to be as neat as possible by inserting the needle in the side loops of the handle as you join. Repeat on the other end of the handle.
After the first handle is done turn your bag and repeat step 3 and attach the second handle.
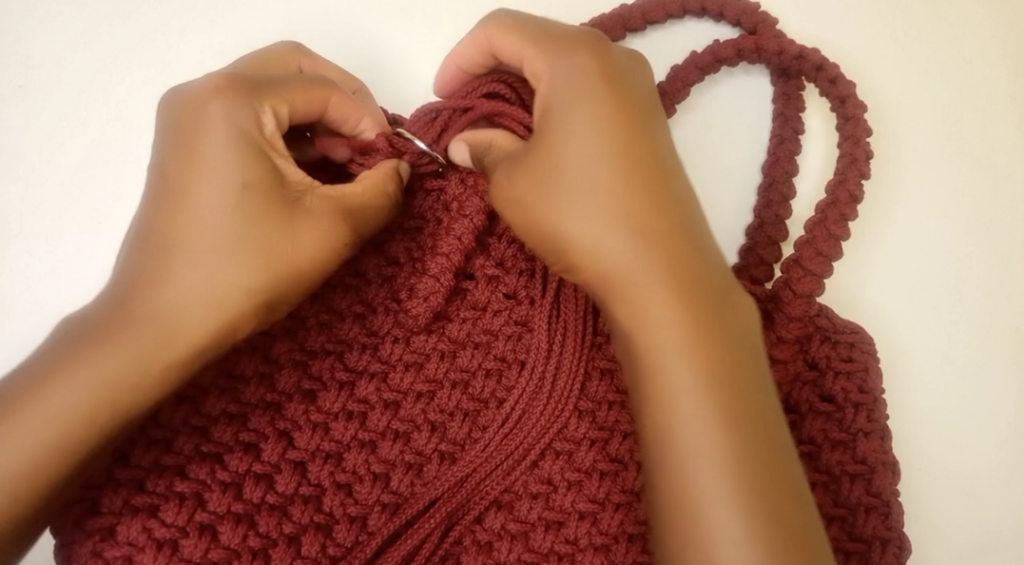
When done, attach a metal ring next to a handle at the edge of the bag using a tapestry needle.
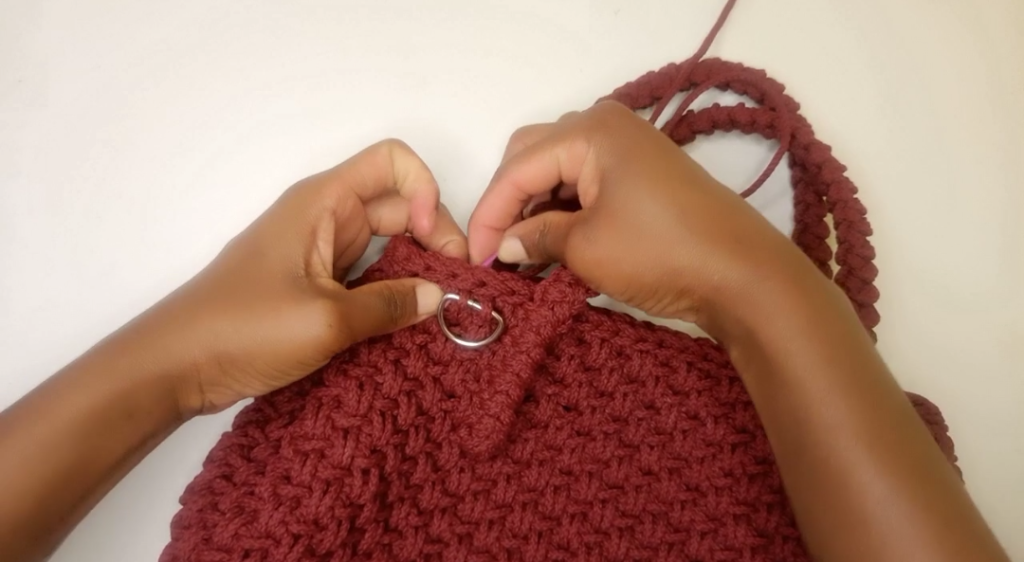
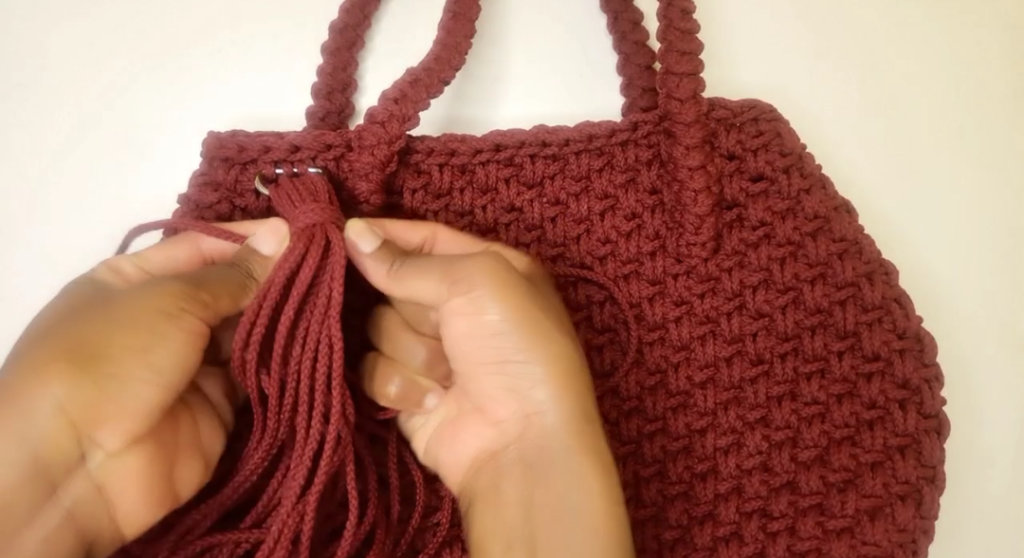
For the tassel cut 10 strands of yarn which are about 15 inches long, insert them through the metal ring.
Tie the strands together just below the metal ring.
Trim the ends of the strands to get a nice finish. Cut and fasten of all the ends on the bag. The bag is done. Here is the step by step video tutorial.