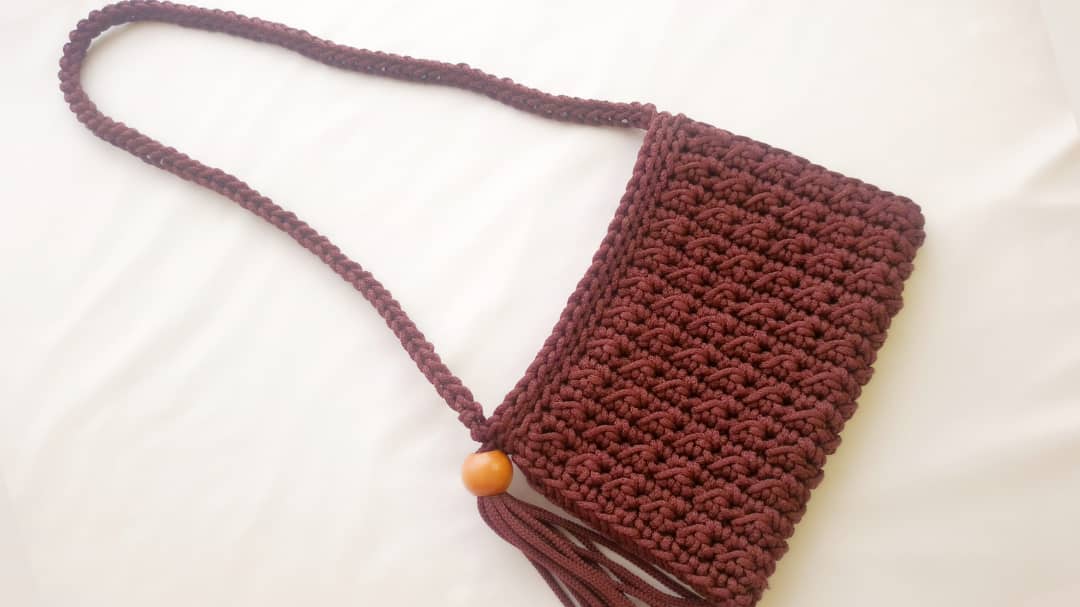
Crochet sling bag pattern.
Hie everyone. So today I have a pattern for a quick crochet project, the Browny sling bag pattern. This bag was inspired by the Companion crossbody bag, the main difference is the simplicity of this one otherwise the stitches used are the same. You can also check the Jasmine stitch round bag and the halfmoon crossbody bag patterns.
With the Browny sling bag you can choose to put either a button or zipper.
If you prefer an ad-free, printable PDF version this pattern, you can purchase it right below by clicking the BUY NOW button. Thank you for supporting my designs.
Level of skill Required:
Knowledge on how to crochet single crochet, half double crochet and slip stitch is required for this pattern.
Material list:
- Crochet Hook size 6mm
- Macramé/ Rope or t-shirt yarn or any other bulky yarn that is about 3mm thick
- Meters used – 96 meters
- Scissors
- 2 Stitch markers
- 1 medium size bead for tassel
- Tapestry needle
Finished bag measurements
17cm height and 25cm width
Crochet Terms in US Terminology
- rep – repeat (do it again)
- st (s) – stitch(es)
- ** – means do what is written in-between the asterisks (for example rep** , means repeat what is written in between the asterisks)
Stitch guide
- ch – chain
- sl st – slip stitch
- sc –single crochet
- hdc – half double crochet
Pattern notes:
- You are going to work in rows.
- The chain 1 at the end of each row is a turning chain therefore it does not count as a stitch
- The number in the brackets at the end of each instruction is the total number of stitches for that row.
Instructions:
The bag is made in 2 steps
- Step 1 – the sides
- Step 2 – joining the sides and the handle
Step 1- The sides Foundation row: ch 28. Turn your chains so that you see the back bumps of the chains.
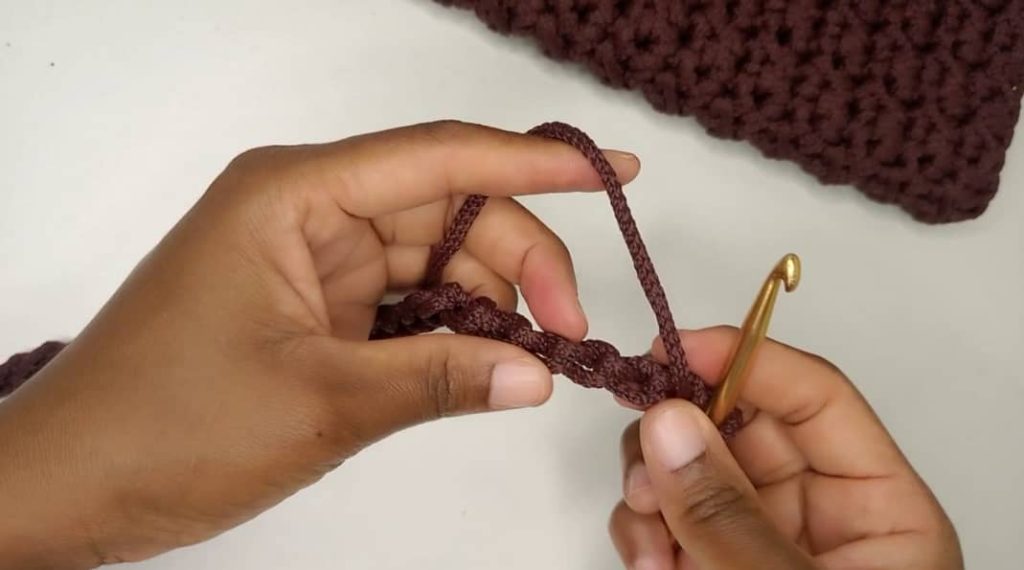
Insert your hook in the back bump of the 2nd chain from the hook and work 1sc. Sc 1 the rest of the chains inserting your hook in the back bumps until all the chains are done. Chain 1 and turn (27)
Row 2: In this row you alternate slip stitch and half double crochet. You begin with a slip stitch and you finish the row with a slip stitch.
Slip st in the first st, *1 hdc in the next st, sl st in the following stitch* repeat from * to * until the row is done, chain 1 and turn (27)
Row 3: 1 sc in each st until the row is done, chain 1 and turn (27)
NB: when you crochet the single crochet row, make sure you insert your hook at the top of each stitch.
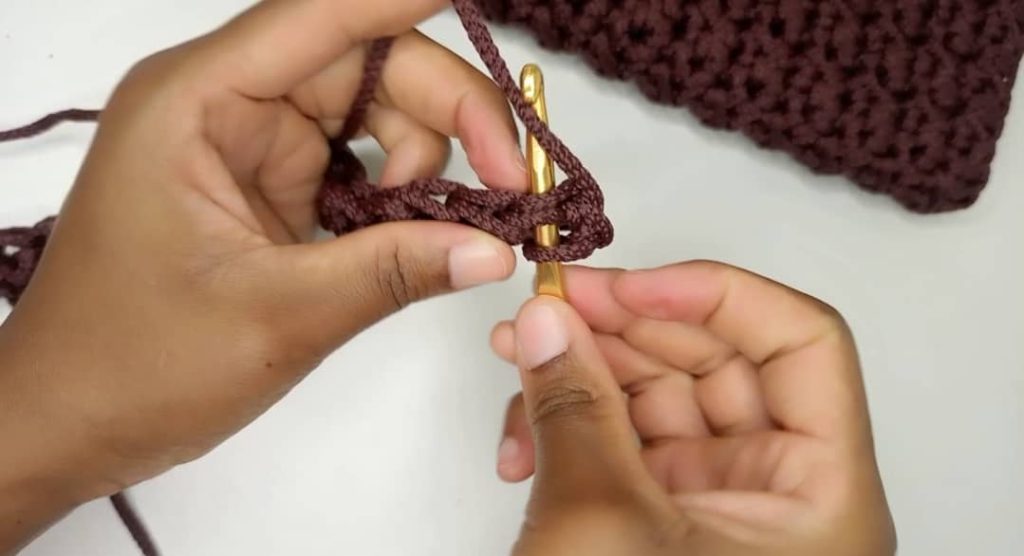
From row 4 to row 23: Repeat row 2 and row 3. Row 23 should be a single crochet row. Cut yarn and fasten off

Step 2 – Joining the sides and the handle
Fold the piece into two. The side with “ridge” like rows (the one shown in the above image) is the right side of the bag and it faces outwards.

Align your stitches and start joining from the far end using a tapestry needle as shown below:
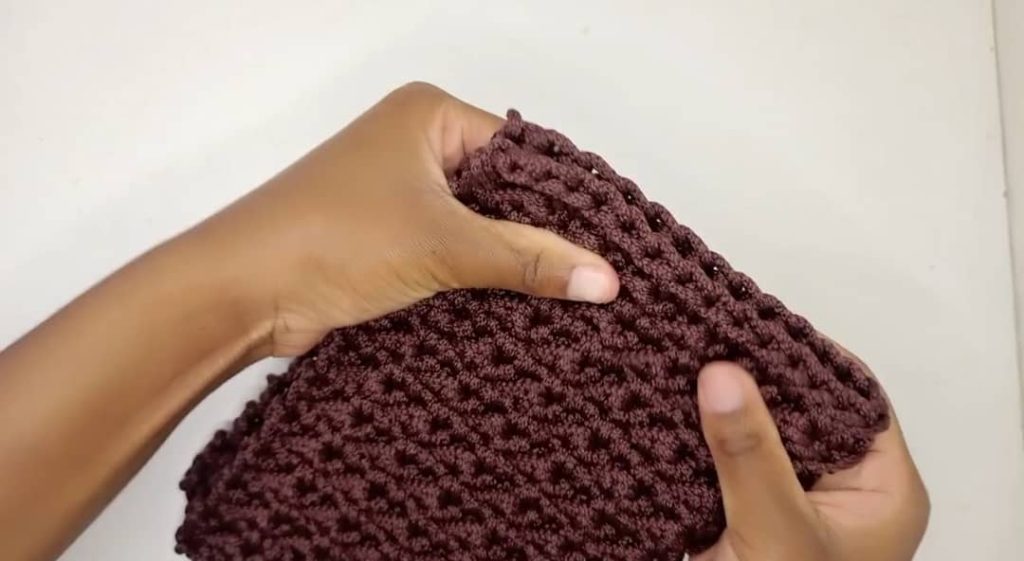
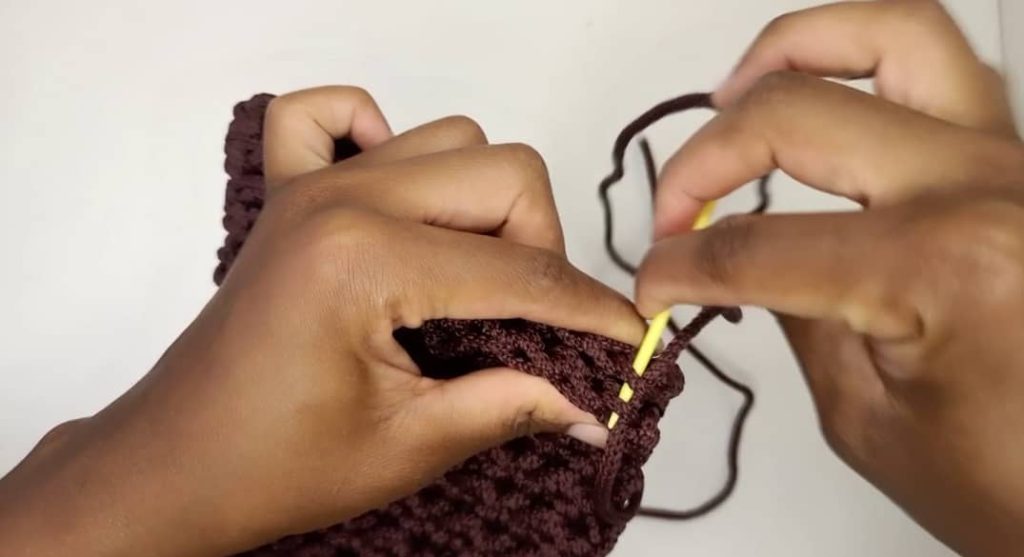
Join the back loop of the side nearer to you and the front loop of the other side.
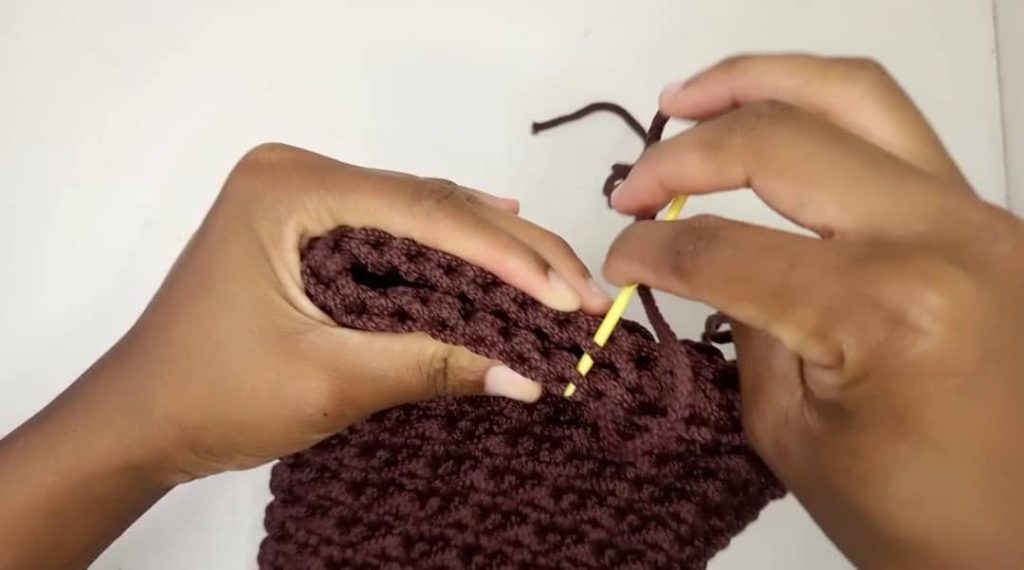
Repeat and join the other side. Cut and fasten off the ends.
Crocheting the edge of the bag
Round 1: Make a slip knot and attach it along the edge of the opening of the bag as shown below:

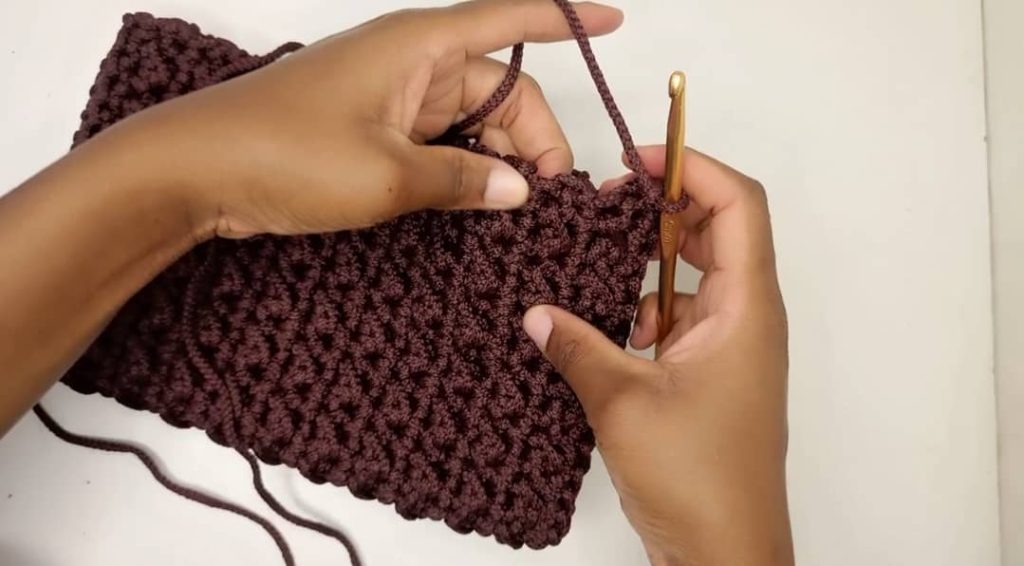
From there start crocheting slip stitch along the edges. Since there are no stitches along the edges, find somewhere to insert your hook along the edges of the rows.
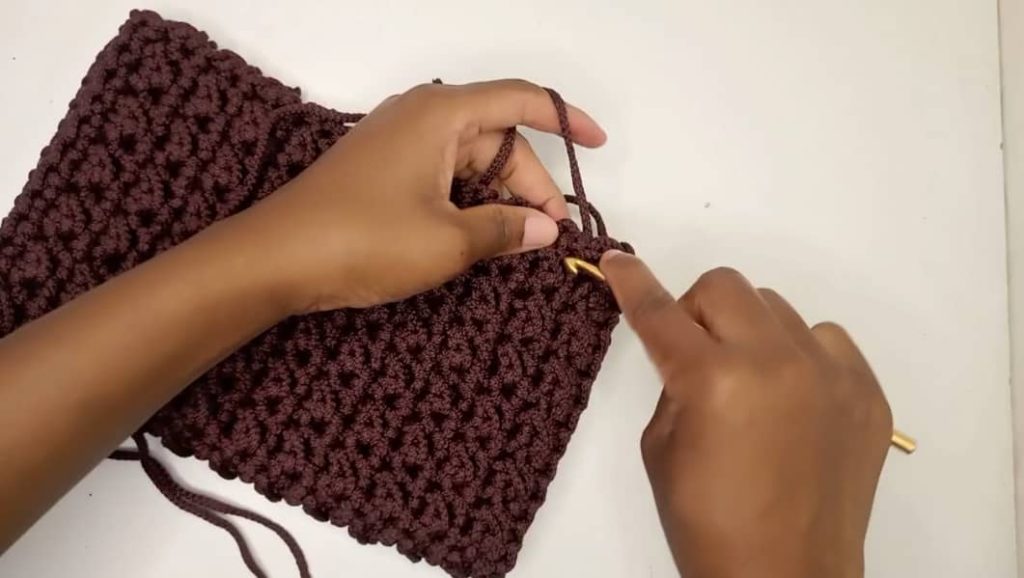
Crochet one slip stitch for each row right round until you are back at the starting point.
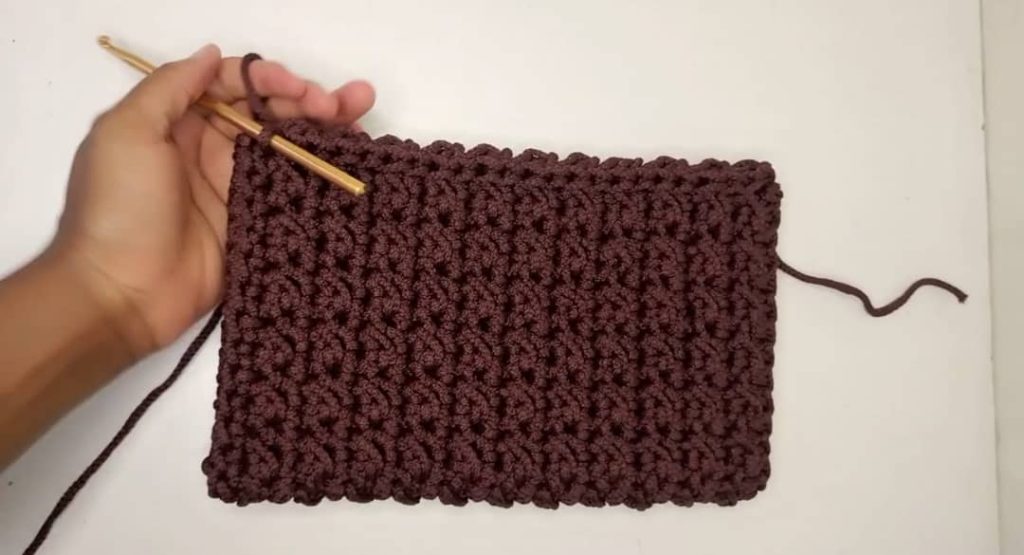
Round 2: insert hook in the back loop of each st and crochet slip st right round
Round 3: repeat round 2
The Handles
Lay your bag flat and put 1 st marker on each edge as shown below.
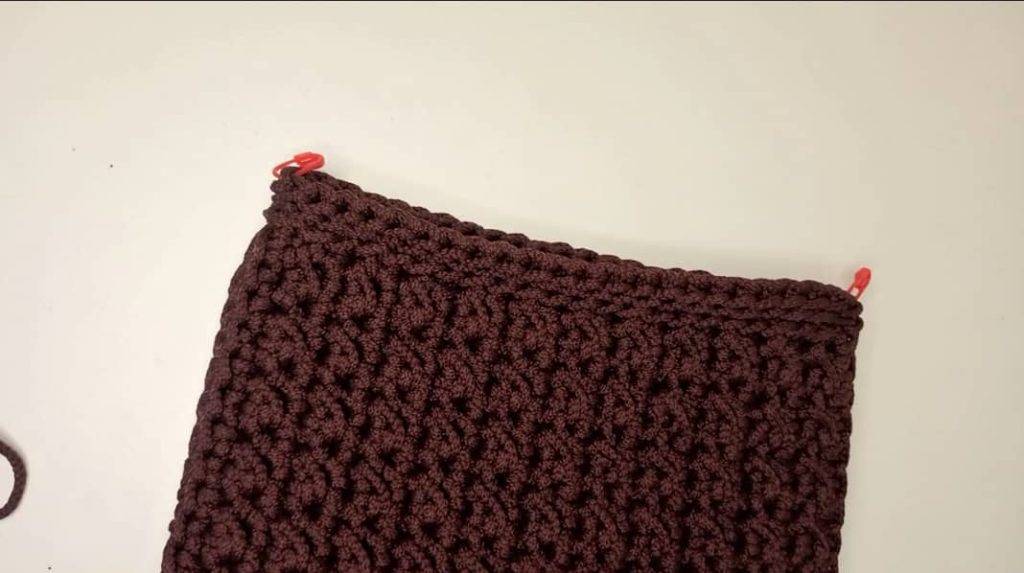
Make a slip knot on the crochet hook and attach it to the st with st marker and chain 100 (or to desired length of handle).
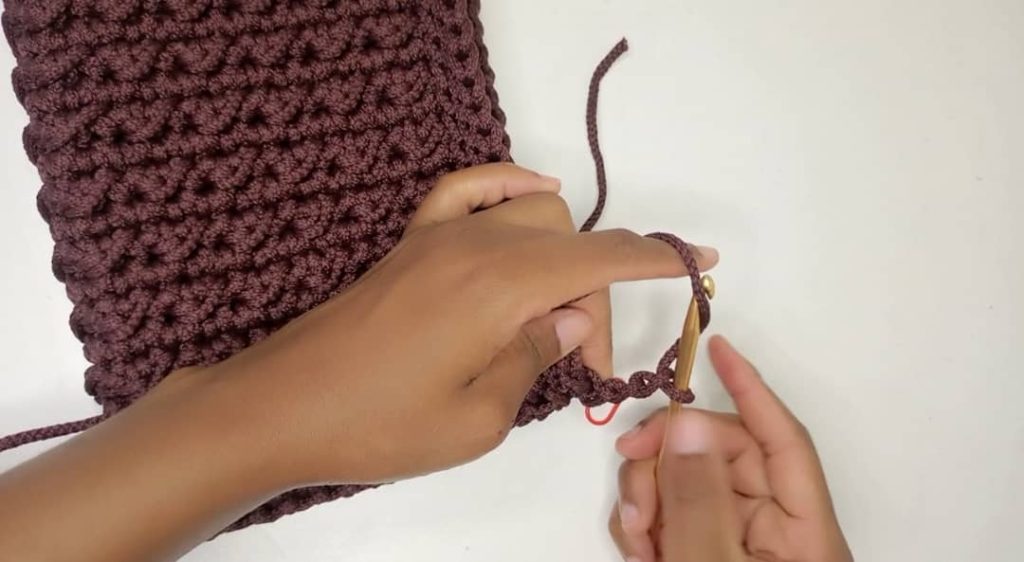
Join the chain to the other st with st marker on the other side. Turn and crochet slip stitch in each chain until you are back at the starting point. When you reach the starting point, cut the yarn and fasten it off inside the bag.
For the tassel cut 10 strands of yarn which are about 18 inches long, take another strand, tie the strands together in the middle and insert them through the wooden bead.
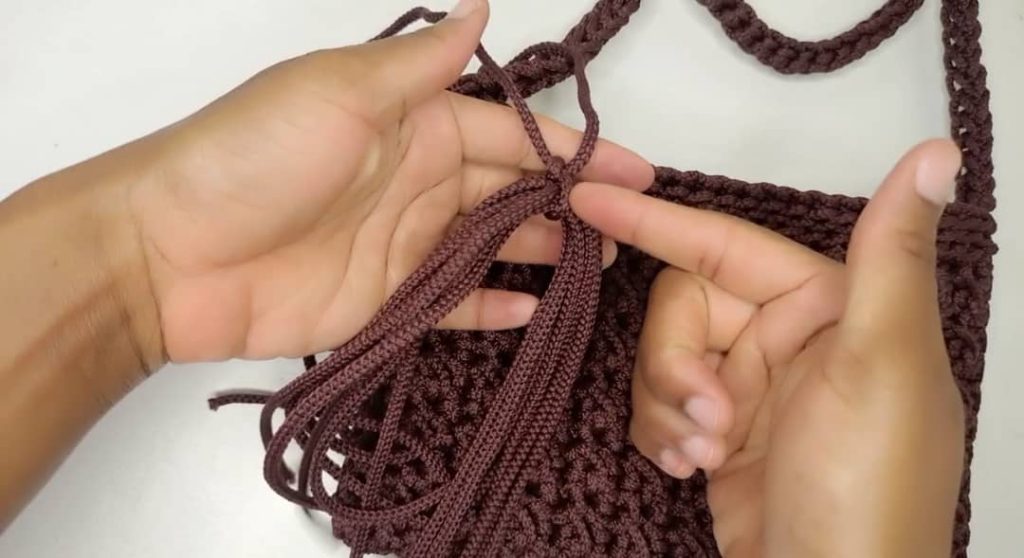
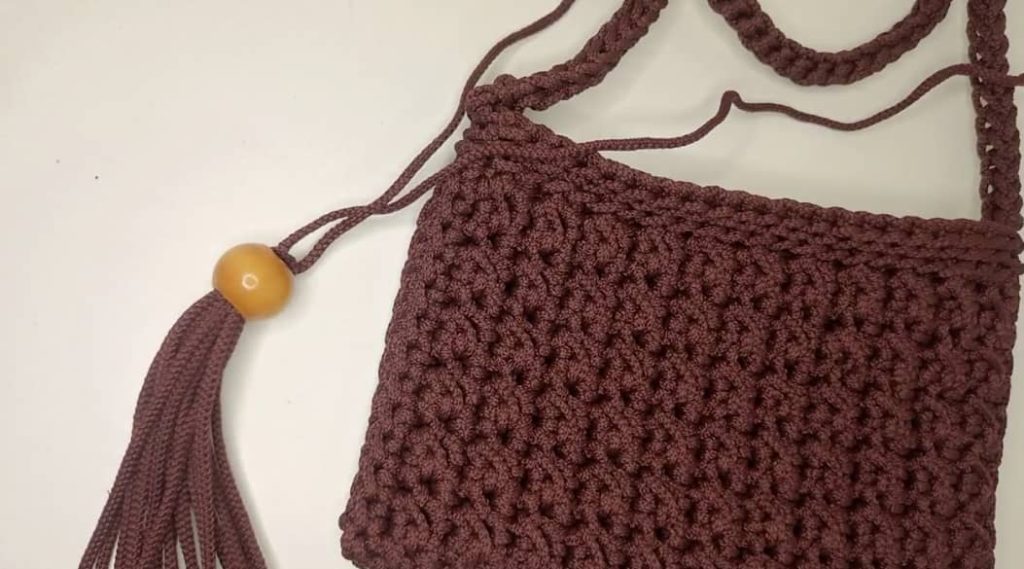
Attach the tassel to the side of the bag. Trim the ends of the strands to get a nice finish
- Cut and fasten off all the other ends to finish the bag
- Your bag is complete
- Here is the step by step video tutorial

Hi. I think the images are missing from the page
Hie…my apologies for the error, it has been rectified