
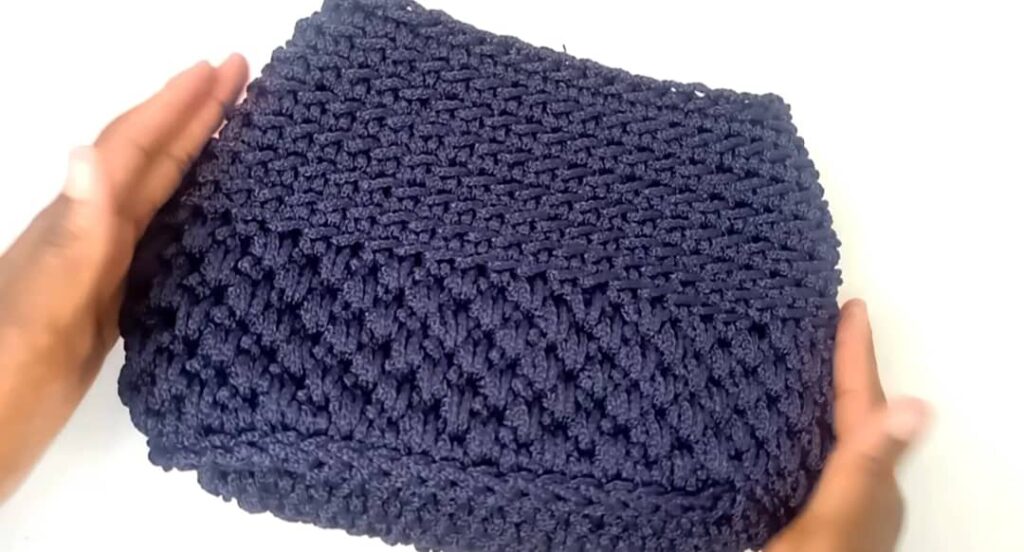
Looking to crochet a stylish and easy crochet bag? You’re in the right place! In this post, we’ll introduce you to a beautiful free crochet bag pattern that combines elegance with simplicity, the Serene bag.
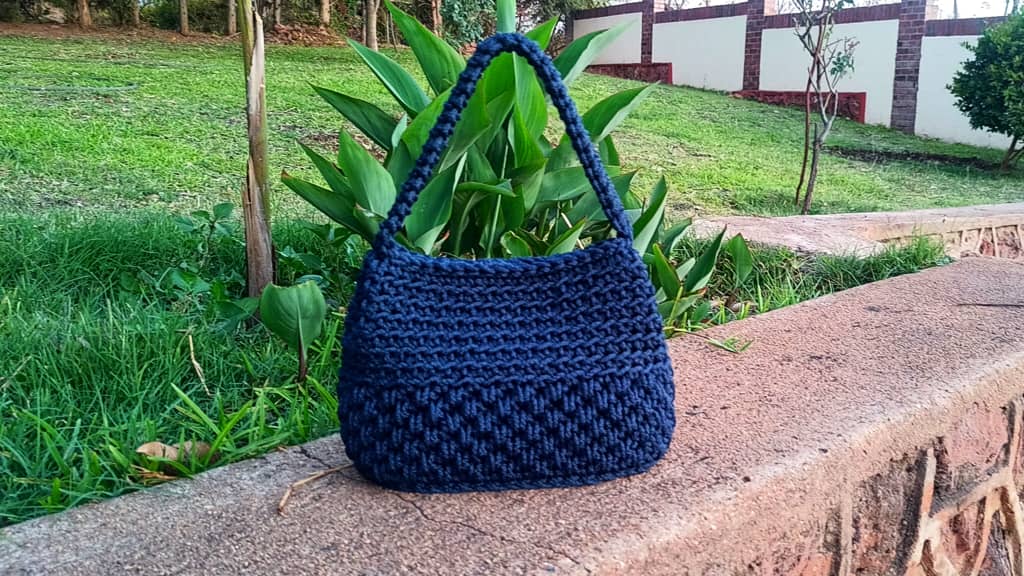
There is so much you can do with navy blue when it comes to crocheting bags. From my experience any type of crochet bag made from navy blue still comes out nice. Today our crochet handbag is made using navy blue macrame cord, the outcome is neat and simple. One can make this bag using any other type of yarn that is a bit thick like t shirt yarn. The Small ring cross body bag was also made using navy blue macrame.
If you fancy small crochet purses like this one then you might also like the Other handbag and the Matipa bag
Level of skill Required:
Knowledge on how to crochet single crochet and slip stitch is required for this pattern.
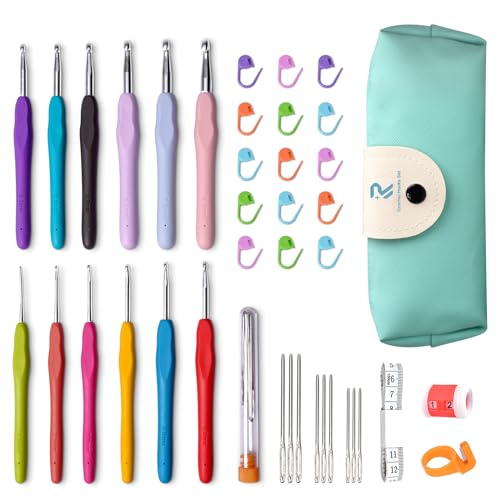
Crochet bag pattern free Material list :
- Crochet Hook size 6mm
- Macramé/ Rope or t-shirt yarn or any other bulky yarn that is about 4mm thick
- Meters used – 140meters
- Scissors
- 7 Stitch markers
- Tapestry needle
One size bag
Finished bag measurements
7 inches height and 10.5 inches width
Base measurements: width – 4 inches, length – 9 inches

Crochet Terms in US Terminology
- rep – repeat (do it again)
- inc – increase to put more than one stitch (in this case 2 stitches) in one stitch
- st (s) – stitch(es)
Stitch guide
- ch – chain
- sl st – slip stitch
- sc – single crochet
Pattern notes:
- You are going to work in rounds.
- Remember to mark the first stitch at the beginning of each round
- The number in the brackets at the end of each instruction is the total number of stitches for that round.
Crochet bag pattern free: Instructions:
The bag is made in 3 steps
- Step 1 – the bottom
- Step 2 – the sides
- Step 3 – the handle
The spike stitch ( elongated single crochet stitch)
Here is how you crochet the spike stitch:
The spike stitch is worked exactly like a regular single crochet except that it is longer than the traditional sc. To crochet the spike stitch, insert hook in the round immediately below, pull up a long loop to the height of the working round. Now you have two loops on the hook, yarn over and pull through both loops to have one spike stitch. You should remember to skip the stitch of the working round located behind the spike stitch just made. This is because the spike stitch overlays the stitch of the working round and replaces it.

Step 1- The Bottom
Foundation round: ch 13. Sc 1 in the 2nd ch from the hook and put a st marker (take note of the color of this st marker or if possible it should be a different color from the rest of the markers as it also marks the starting point of the round), continue with 1 sc in each of the following chains. Sc 5 in the last ch and put 3 st markers into the 2nd, 3rd, 4th sts of the 5 sc that you just made. Continue to crochet at the back of the chains putting 1 sc at the back of each chain. Sc 4 in the last chain and put st markers into the last 3 sts of the 4 sc just made. (30)

Round 2: sc 1 in the 1st st (put back the st marker) *continue with 1 sc in each of the following sts which do not have stitch markers until you reach a st marker, sc 2 in each of the sts with st markers (put back the st marker into the 1st st of the increase).* Rep** until you are back at the starting point. (36)

Round 3 and Round 4: Repeat round 2.
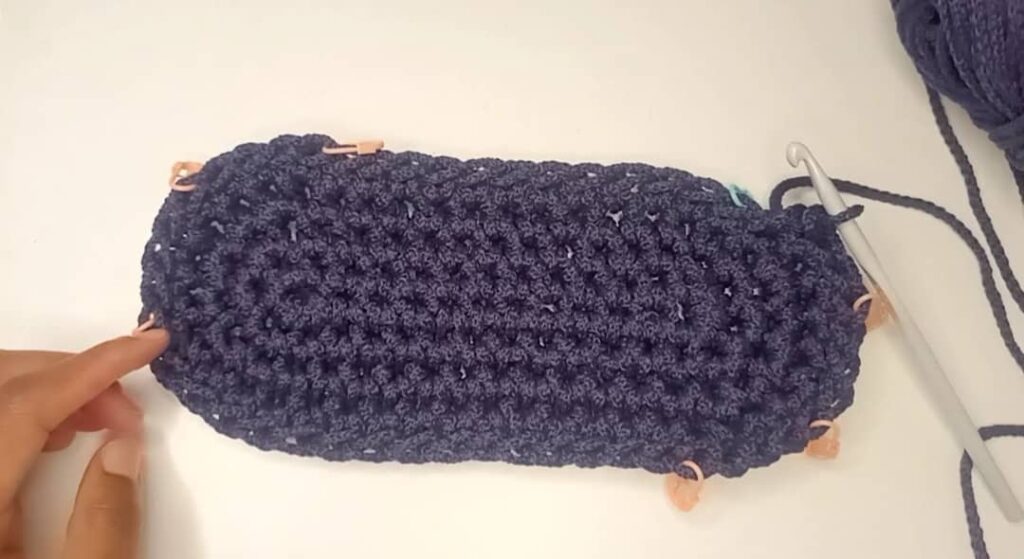
After completing round 4 you should have 48 stitches. Add one more stitch in the last st to make them 49 (the stitch used for the sides requires the total number of sts to be an odd number).
Round 5: remove all the other st markers and remain with the one that marks the starting point (the one in the first st). Slip st in each st right around. This completes the bottom. (49)
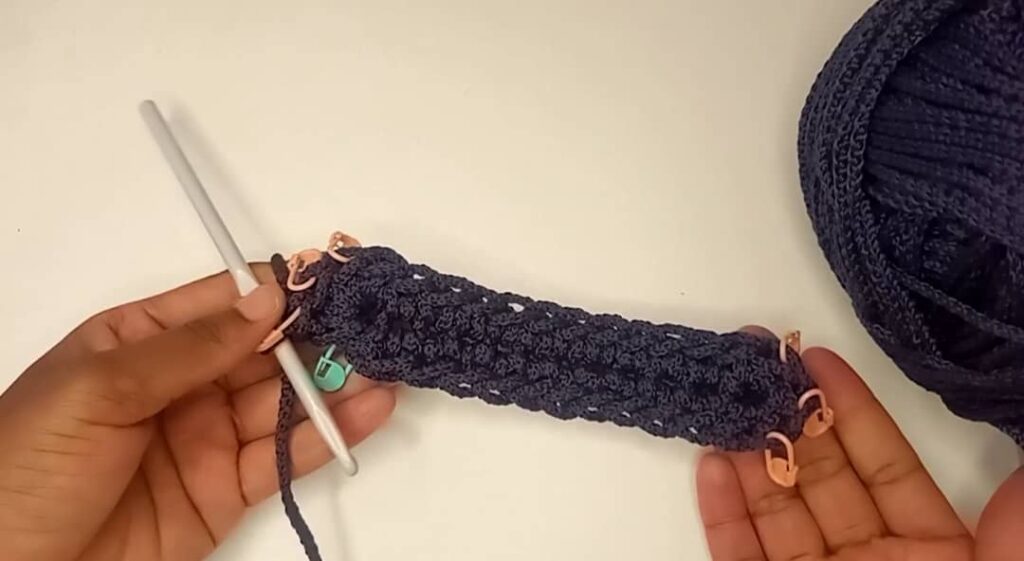
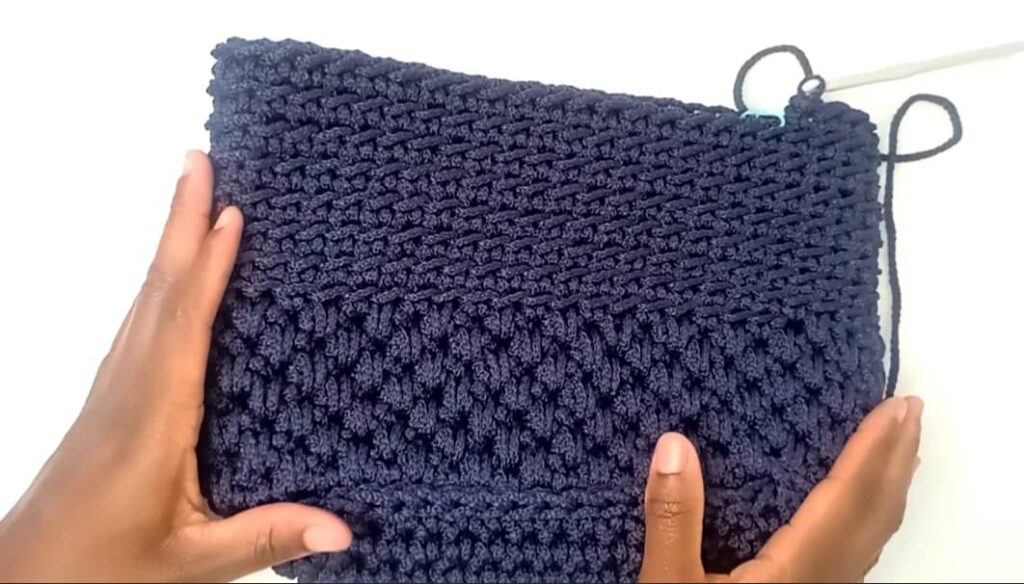
Step 2 – The Sides
Turn the bottom of the bag to see 3 loops on the sides. In the next round insert hook in the back loop of the 3 loops
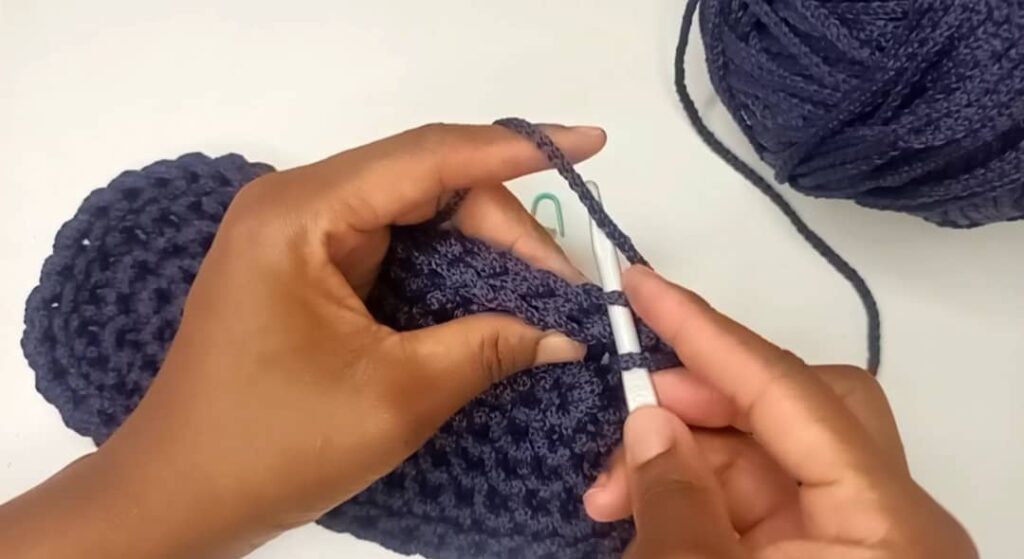
Round 1: sc 1 into the back loop of the first st put back the st marker, continue with 1sc in the back loop only of each st until the round is done. (49)
Round 2: sc 1 in the first stitch, *in the following st crochet 1 spike stitch (refer to the top on how to crochet the spike st). sc 1 in the next st* rep** until the round is done.
Take note: when you start a round with single crochet st you finish with single crochet st likewise when you start with spike st.
Round 3: since the last st of round 2 is single crochet, put 1 spike st in the first st, *sc 1 in the following st. in the next st put 1 spike st* rep** until the round is done.
Round 4 to round 8: repeat round 2 and round 3
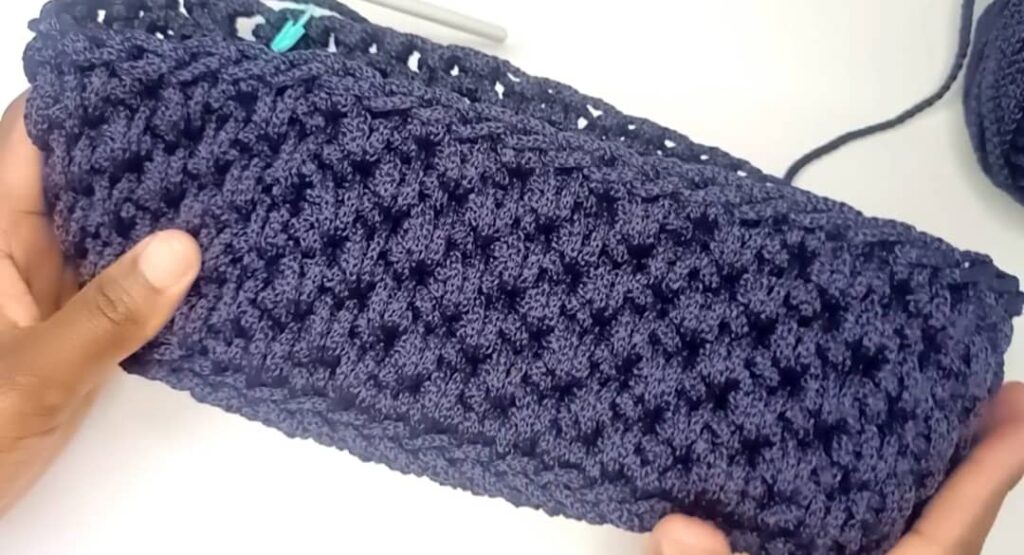
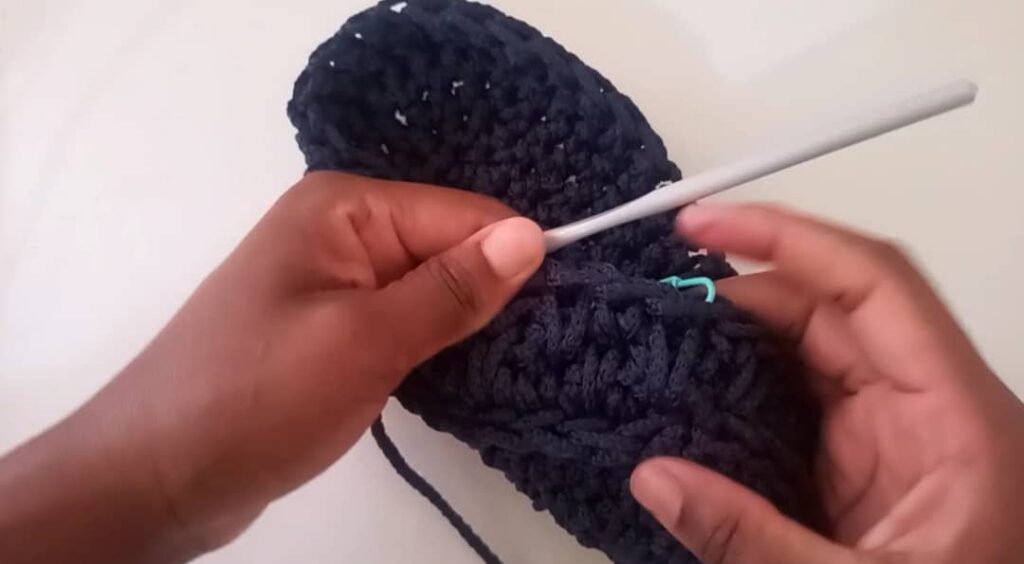
Round 9 to round 15: sc 1 in the back loop only in each st until the round is done. (49)
Mark st number 18, 24, 42 and 48
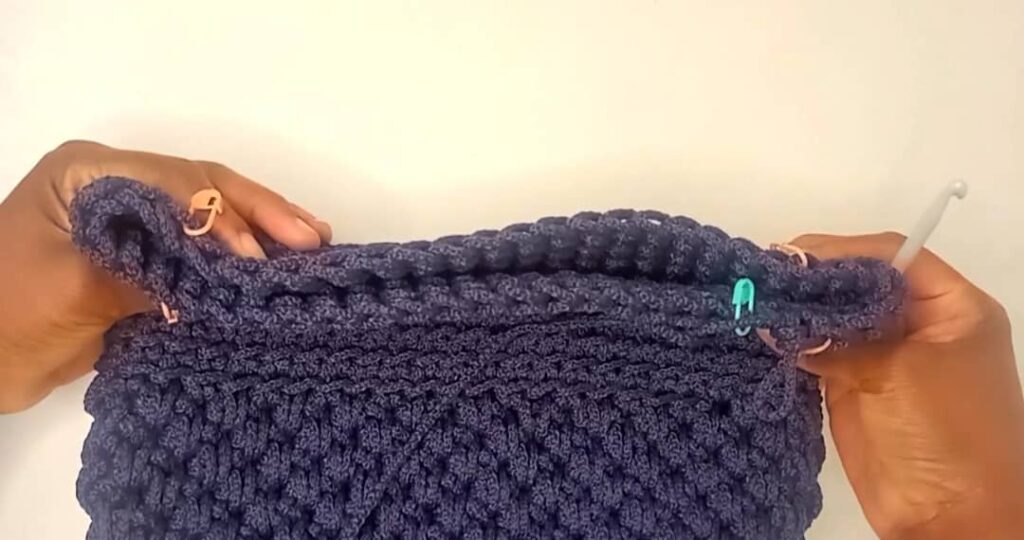
Round 16: crochet one slip stitch in each stitch. When you reach st 18, put a slip st in st 18, skip 5 sts, and put 1 slip st in st 24, continue with sip st until you reach st 42, put a slip st in st 42, skip 5 sts and put a slip st in st 48, put slip st in the remaining st to finish off the round. Cut and fasten off the ends.
Crochet bag pattern free: Step 3 – The handles
The handles are going to be Romanian cords. Here is how you crochet a Romanian cord:
Step 1: leave a tail of about 30cm at the start as well as at the end of the cord. Chain 2, work 1 sc into the 2nd chain from the hook. As you do this pay attention to the first chain you skipped, it will fold up alongside your stitch and create a loop on the side.
Step 2: Turn and crochet 1 single crochet into this side loop. As you do this, both single crochets including the previous one form 2 little side loops.
Step 3: Turn and crochet 1 single crochet in these 2 side loops. Repeat the last step until you reach a length of about 50cm or to your desired length.
Attaching the handles:
Lay your bag flat. Put one stitch marker at one edge and put another at the other edge. Using a tapestry needle attach one end of the handle onto the marked stitch.
Repeat and attach the other end of the handle to the other marked stitch.
Cut and fasten off all the other ends. Here is the step by step video tutorial:
So, why wait to add this stylish and easy-to-follow crochet bag pattern to your collection? With just a few simple materials and a bit of creativity, you can bring this Serene bag to life in no time. Whether you’re a beginner or seasoned pro, this pattern is sure to inspire your next crochet project and elevate your fashion game effortlessly.
You teach with clear instructions… love it!!!
Thank you and I’m glad you love the patterns and tutorials.