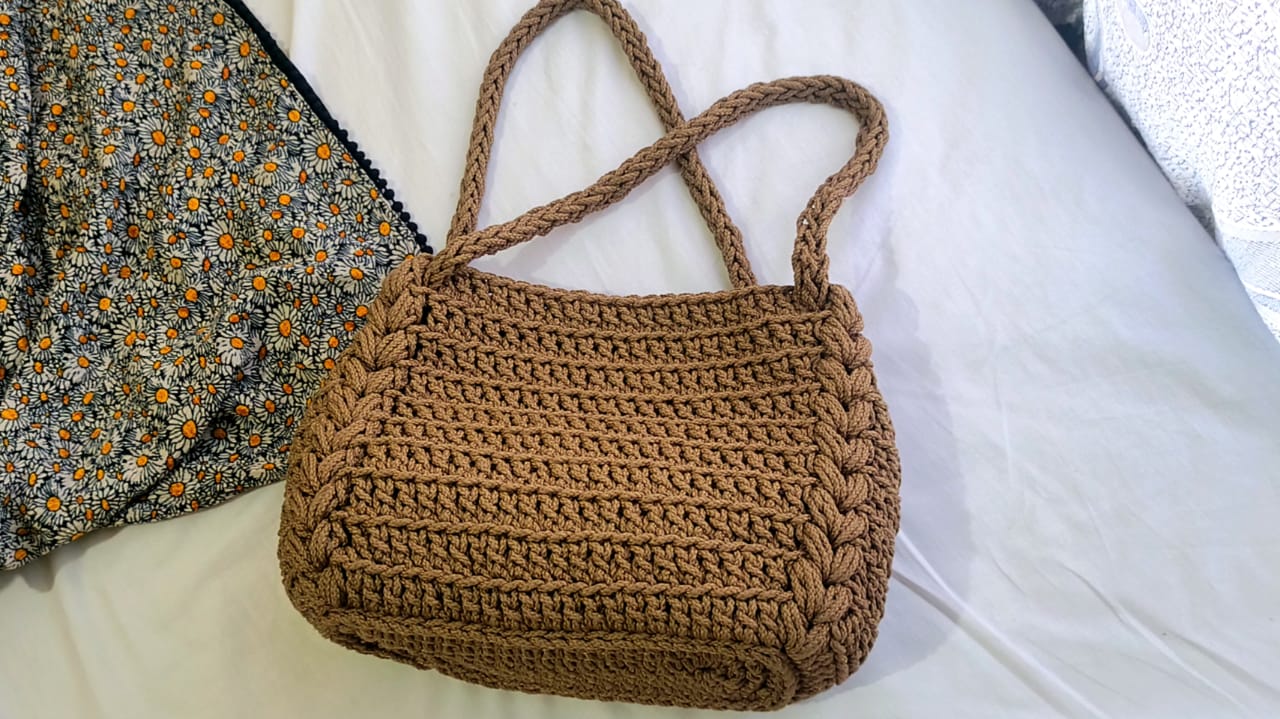
Crochet bag pattern free: the Everyday bag. Are you ready to dive into the world of crochet and create your very own stylish and practical bag? Look no further! In this article, we will guide you through a fantastic crochet bag pattern that is not only free but also easy to follow.

This crochet bag can be used as a market bag, beach bag, you can even carry this bag to work or even on a date. However, if you are looking for a crochet classic designer bag you can check out this Forest Green classic crochet bag pattern or the Matipa crochet bag. Get your yarn and hooks ready, and let’s get started!
If you prefer an ad-free, printable PDF version this pattern, you can purchase it right below by clicking the BUY NOW button. Thank you for supporting my designs.
Level of skill Required:
This pattern for crochet bag is very easy to follow and because we will be using double crochet it will not take that long to crochet. Knowledge on how to crochet double crochet, single crochet and slip stitch is required for this pattern. If you are a crochet beginner you can also check the Mellow tote bag pattern, it was done using the same stitch.
Crochet bag pattern free – Material list:
- Crochet Hook size 5mm
- 3mm braided Macramé/ Rope or t-shirt yarn or any other bulky yarn that is about 3mm thick
- Meters used – 245m/268 Yards
- Scissors
- 5 Stitch markers

Tension:
Gauge: 12cm = 5 rows x 11 stitches (crocheting dc in the back loop in the round)
One size bag
Finished bag measurements
When flat = 25cm height and 35cm width
Crochet Terms in US Terminology
- join – join two stitches together, done by working a slip stitch in the top of the next stitch
- rep – repeat (do it again)
- inc – means increase that is crochet three stitches in one stitch
- st (s) – stitch(es)
Stitch guide
- ch – chain
- sl st – slip stitch
- sc – single crochet
- dc – double crochet
Crochet bag pattern free notes:
- You are going to work in rounds.
- The number in the brackets at the end of each instruction is the total number of stitches for that round.
- The slip knot at the end of each round does not count as a stitch; therefore do not crochet into it.
- The chain 1 or chain 3 at the beginning of each round is counted as the first stitch
Instructions:
The bag is made in 3 steps
- Step 1 – the bottom
- Step 2 – the sides
- Step 3 – the handles
The v puff stitch
The v puff stitch will be used in step 2. Here is how you crochet the v puff stitch:
(Yarn over and insert your hook in the stitch, yarn over and pull up a loop) 3 times for 7 loops on the hook, yarn over and pull through all 7 loops, chain 1. Again (Yarn over and insert your hook in the same stitch, yarn over and pull up a loop) 3 times for 7 loops on the hook, yarn over and pull through all 7 loops, chain1.

Step 1- The Bottom– Crochet bag pattern free
Foundation round : ch 16. Sc 1 in the 2nd ch from the hook and put a st marker (take note of the color of this st marker or if possible it should be a different color from the rest of the markers as it also marks the starting point of our round), continue with sc in the next 13 ch. Sc 5 in the last ch, put 1 st marker each in the 2nd and 4th stitches of the 5 sc that you just did.

Continue crocheting into the back of the chains as shown below, sc 4 in the last chain and put 1 st marker each in the 2nd and 4th st of the 4 stitches you just did. Join the last st to the first st with a slip knot (36)

Round 2: ch 1 and put back the stitch marker marking the starting point. The ch1 is our first st. Sc 1 in the following stitches until you reach a st marker. *(When you reach the st with the st marker ,sc 3 in that st, put back the st marker into the 2nd st of the inc, sc 1 in the following sts which do not have stitch markers until you reach the next st marker,).* Repeat from * to * until you are back at the starting point. Join the last st to the first with a slip stitch (44)
Round 3 and 4:
repeat round 2. Round 4 should have a total of 60 sts,
Round 5: put a stitch marker in the slip st done at the end of round 4, this slip st is our starting point only for this round. Slip stitch into the next st and following stitches until you are back at the starting point. All the st markers should remain were they are (they are going to be used in the next round). At the end of the round join with a slip st, the last slip st to the first slip st. The base of the bag is done.

Step 2 – The Sides– crochet bag pattern free
Round 1: remove the st marker in the first st, we no longer need it. Chain 3 (this is going to represent our first dc of the round), dc 1 in the following stitches by inserting your hook in the outer loop as shown below (the back loop) until you reach a st with a st marker.

*(When you reach the st with a st marker crochet the v puff st as explained above (refer to the top of the pattern instructions The v puff st) continue with 1 dc in the outer loop in each of the following st that do not have st markers until you reach the next st with a st marker)* repeat from * to * until you are back at the starting point.

At the end of the round join the last st to the 3rd chain of the chain 3 at the start of the round with a slip st

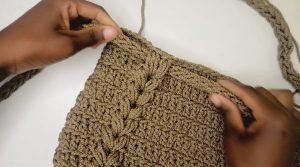
Round 2:
chain 3, dc 1 in the back loop of the following st until you reach the puff st. *(Do not crochet dc on the 4 sts that are on top of the v puff st, rather skip theses sts and insert your hook in between the v puff as shown below and crochet another v puff there. Continue with 1 dc in the following sts in the back loop until you reach the next v puff st)* repeat from * to * until you finish the round.


At the end of the round join the last st to the 3rd chain of the chain3 at the start of the round with a slip st.
Round 3 to round 10: repeat round 2. At the end of round 10 cut and fasten off the ends. The sides of the bag are done.
Step 3- The Handles
To crochet the handle , chain 3 and insert your hook in the 2nd ch from the hook yarn over and pull up a loop so that you have 2 loops on the hook. Insert again in the next ch, yarn over and pull up a loop so that you have 3 loops on your hook. *(Remove your hook from the loops making sure that you do not lose any loop. Insert your hook in the first loop, yarn over and pull up a loop, insert again in the next loose loop, yarn over and pull up a loop, repeat in the 3rd loop, to have 3 loops again on the hook)* Repeat from * to * until you have a handle of length one meter or your desired length.

Inserting the handle to the bag:
On the bag, just before the v puff stitch and just after the v puff stitch there are small holes enough to fit your handle.

Insert your handle through those holes right round and join the two ends of the handle when they meet making sure that when you join the handle, it is straight and unraveled.
Congratulations! You have successfully completed your very own crochet bag using this free pattern. Let your creativity shine through by experimenting with different yarns, colors, and embellishments. Whether you’re a seasoned crocheter or just starting out, this pattern is perfect for all skill levels. Happy crocheting! Check out the step by step video tutorial of this free crochet pattern here:
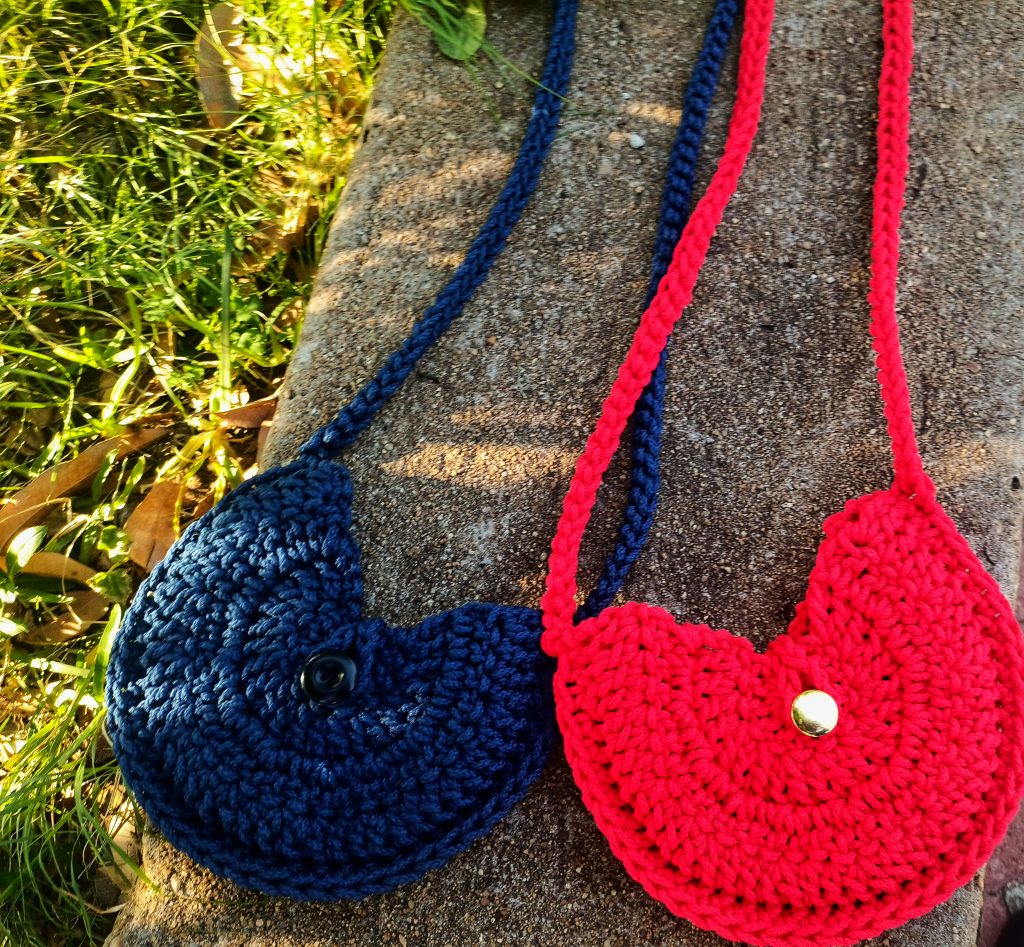
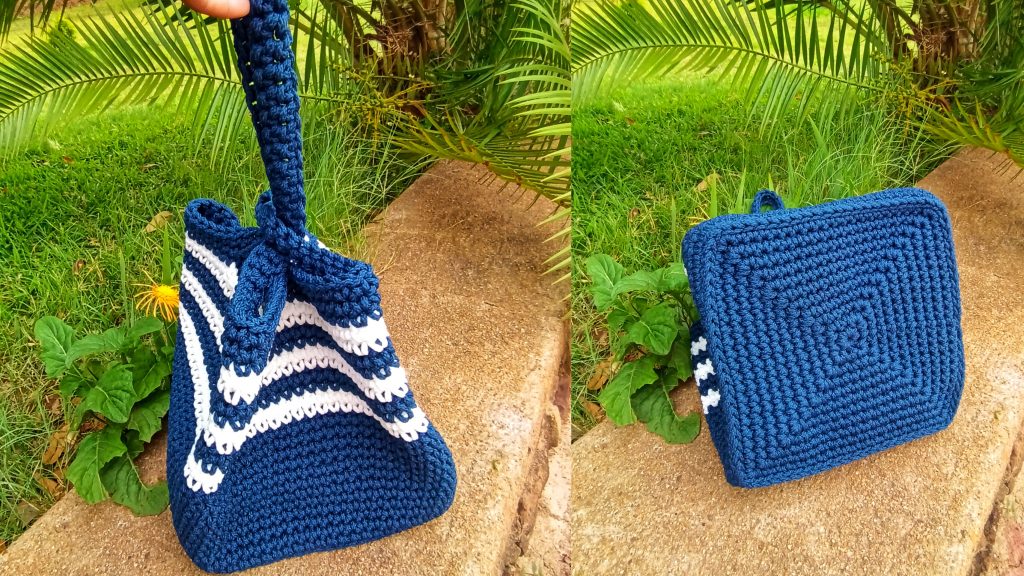
Halfmoon bag pattern